Setup
This guide walks through setting up the ACM CRE template on your computer, from creating the GitHub organisation through to running the site locally.
The screenshots and command output in this guide are all from macOS. If you are on Windows or Linux, see Setup on other platforms for the equivalent terminal and toolchain steps, then return here for the GitHub and project steps which are platform-independent.
Before you begin
You will need:
- GitHub account. Create one here if you don’t have one.
- Text editor. VS Code works well.
Step 1: Create a GitHub organisation
Hosting your event in a dedicated GitHub organisation gives you a cleaner URL and lets multiple organisers collaborate. Creating an organisation is free.
From the GitHub home page, click the + icon in the top-right toolbar, then choose New organization.
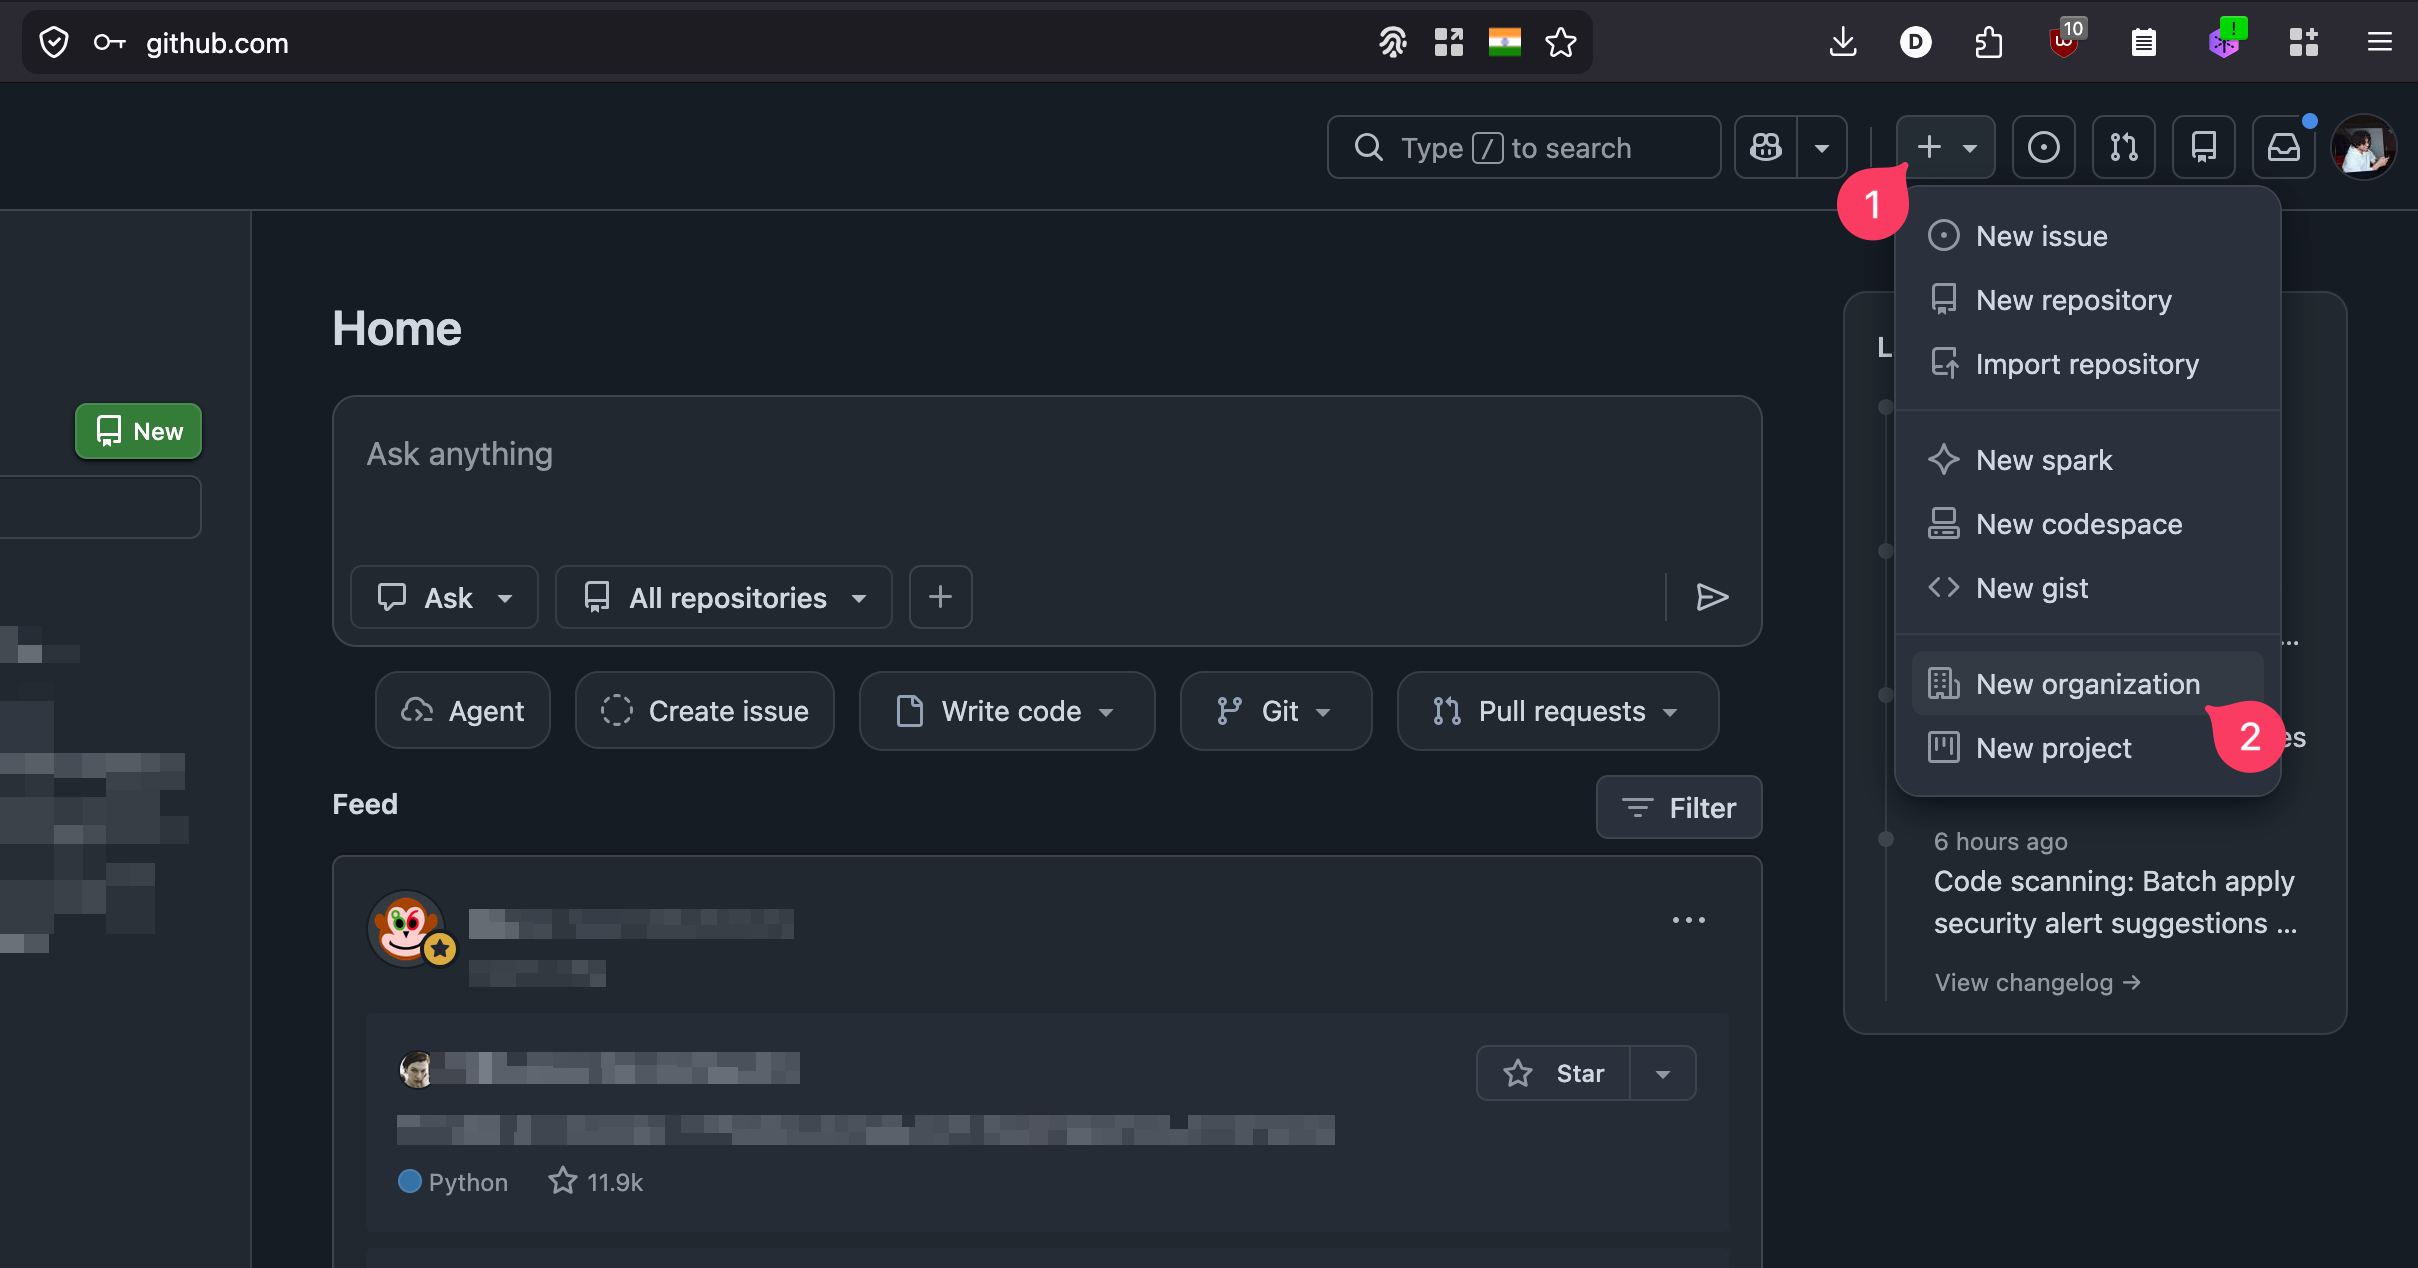
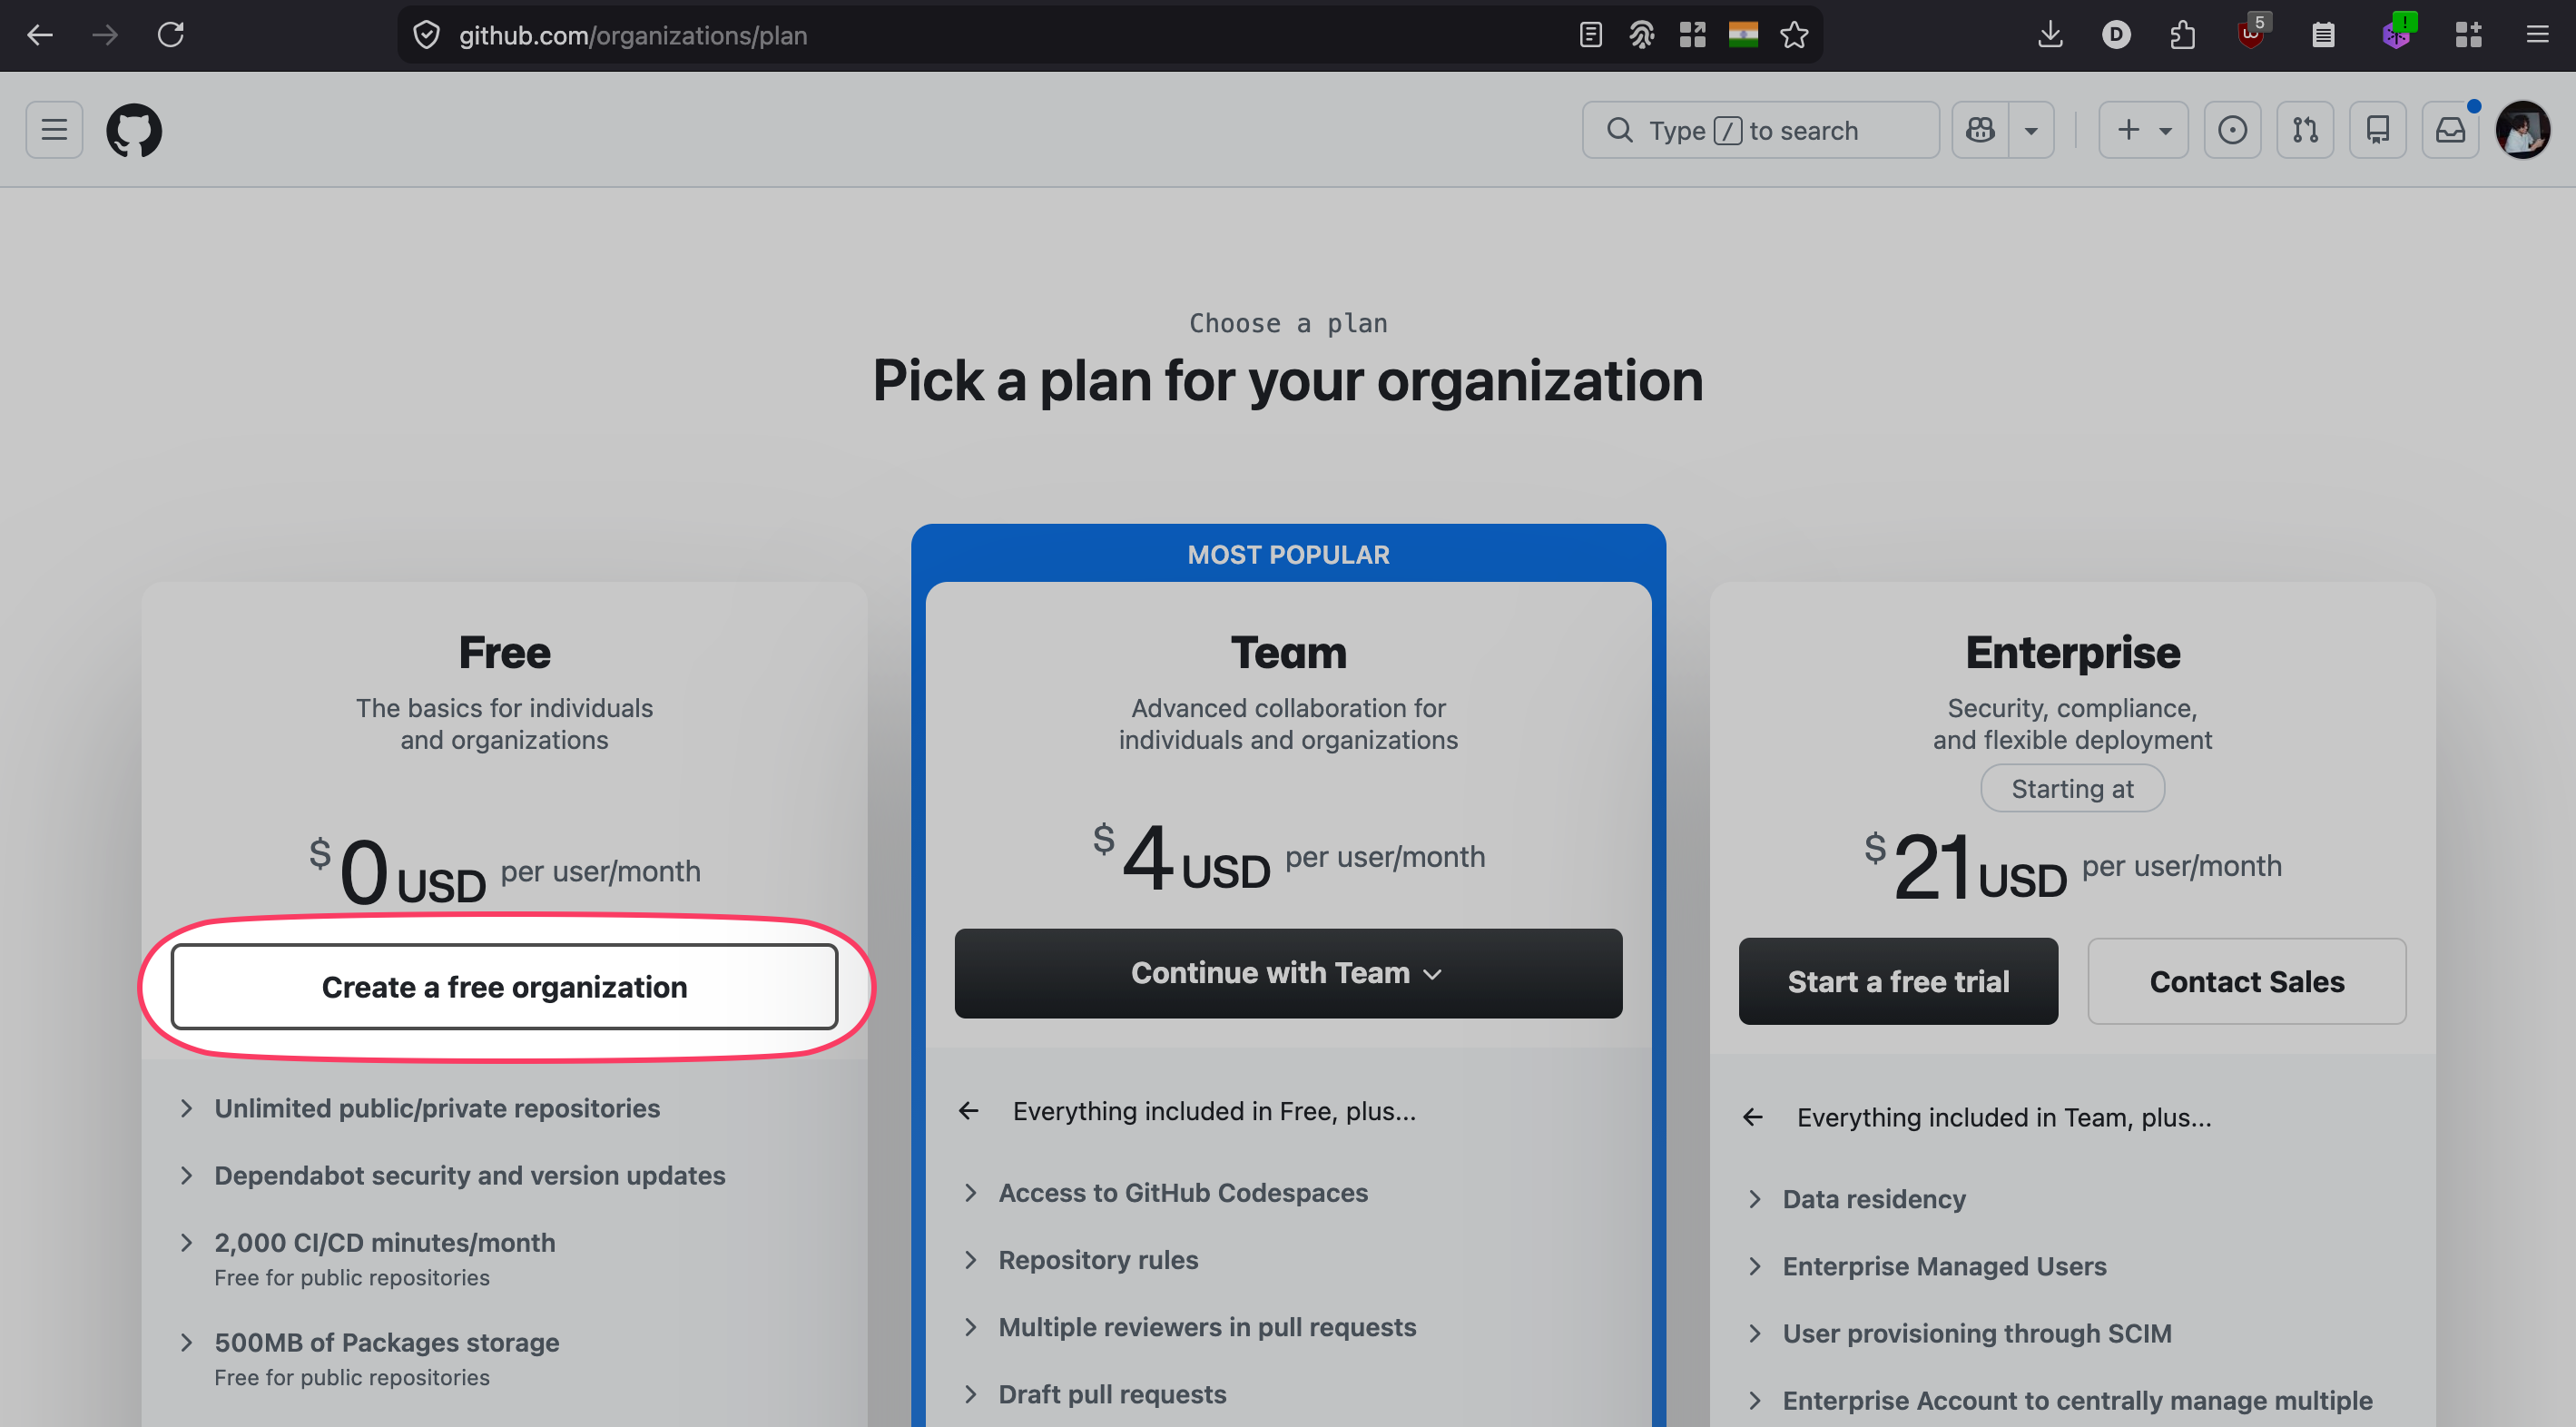
Pick the Free plan.
Fill in the organisation form:
- Organisation name (this becomes part of your URL, for example
acm-cre-ashoka) - Contact email
- Choose My personal account under “This organisation belongs to”
- Accept the Terms of Service
- Click Next

On the next screen you can invite collaborators or skip and click Complete setup.

For more details see GitHub’s guide on creating organisations.
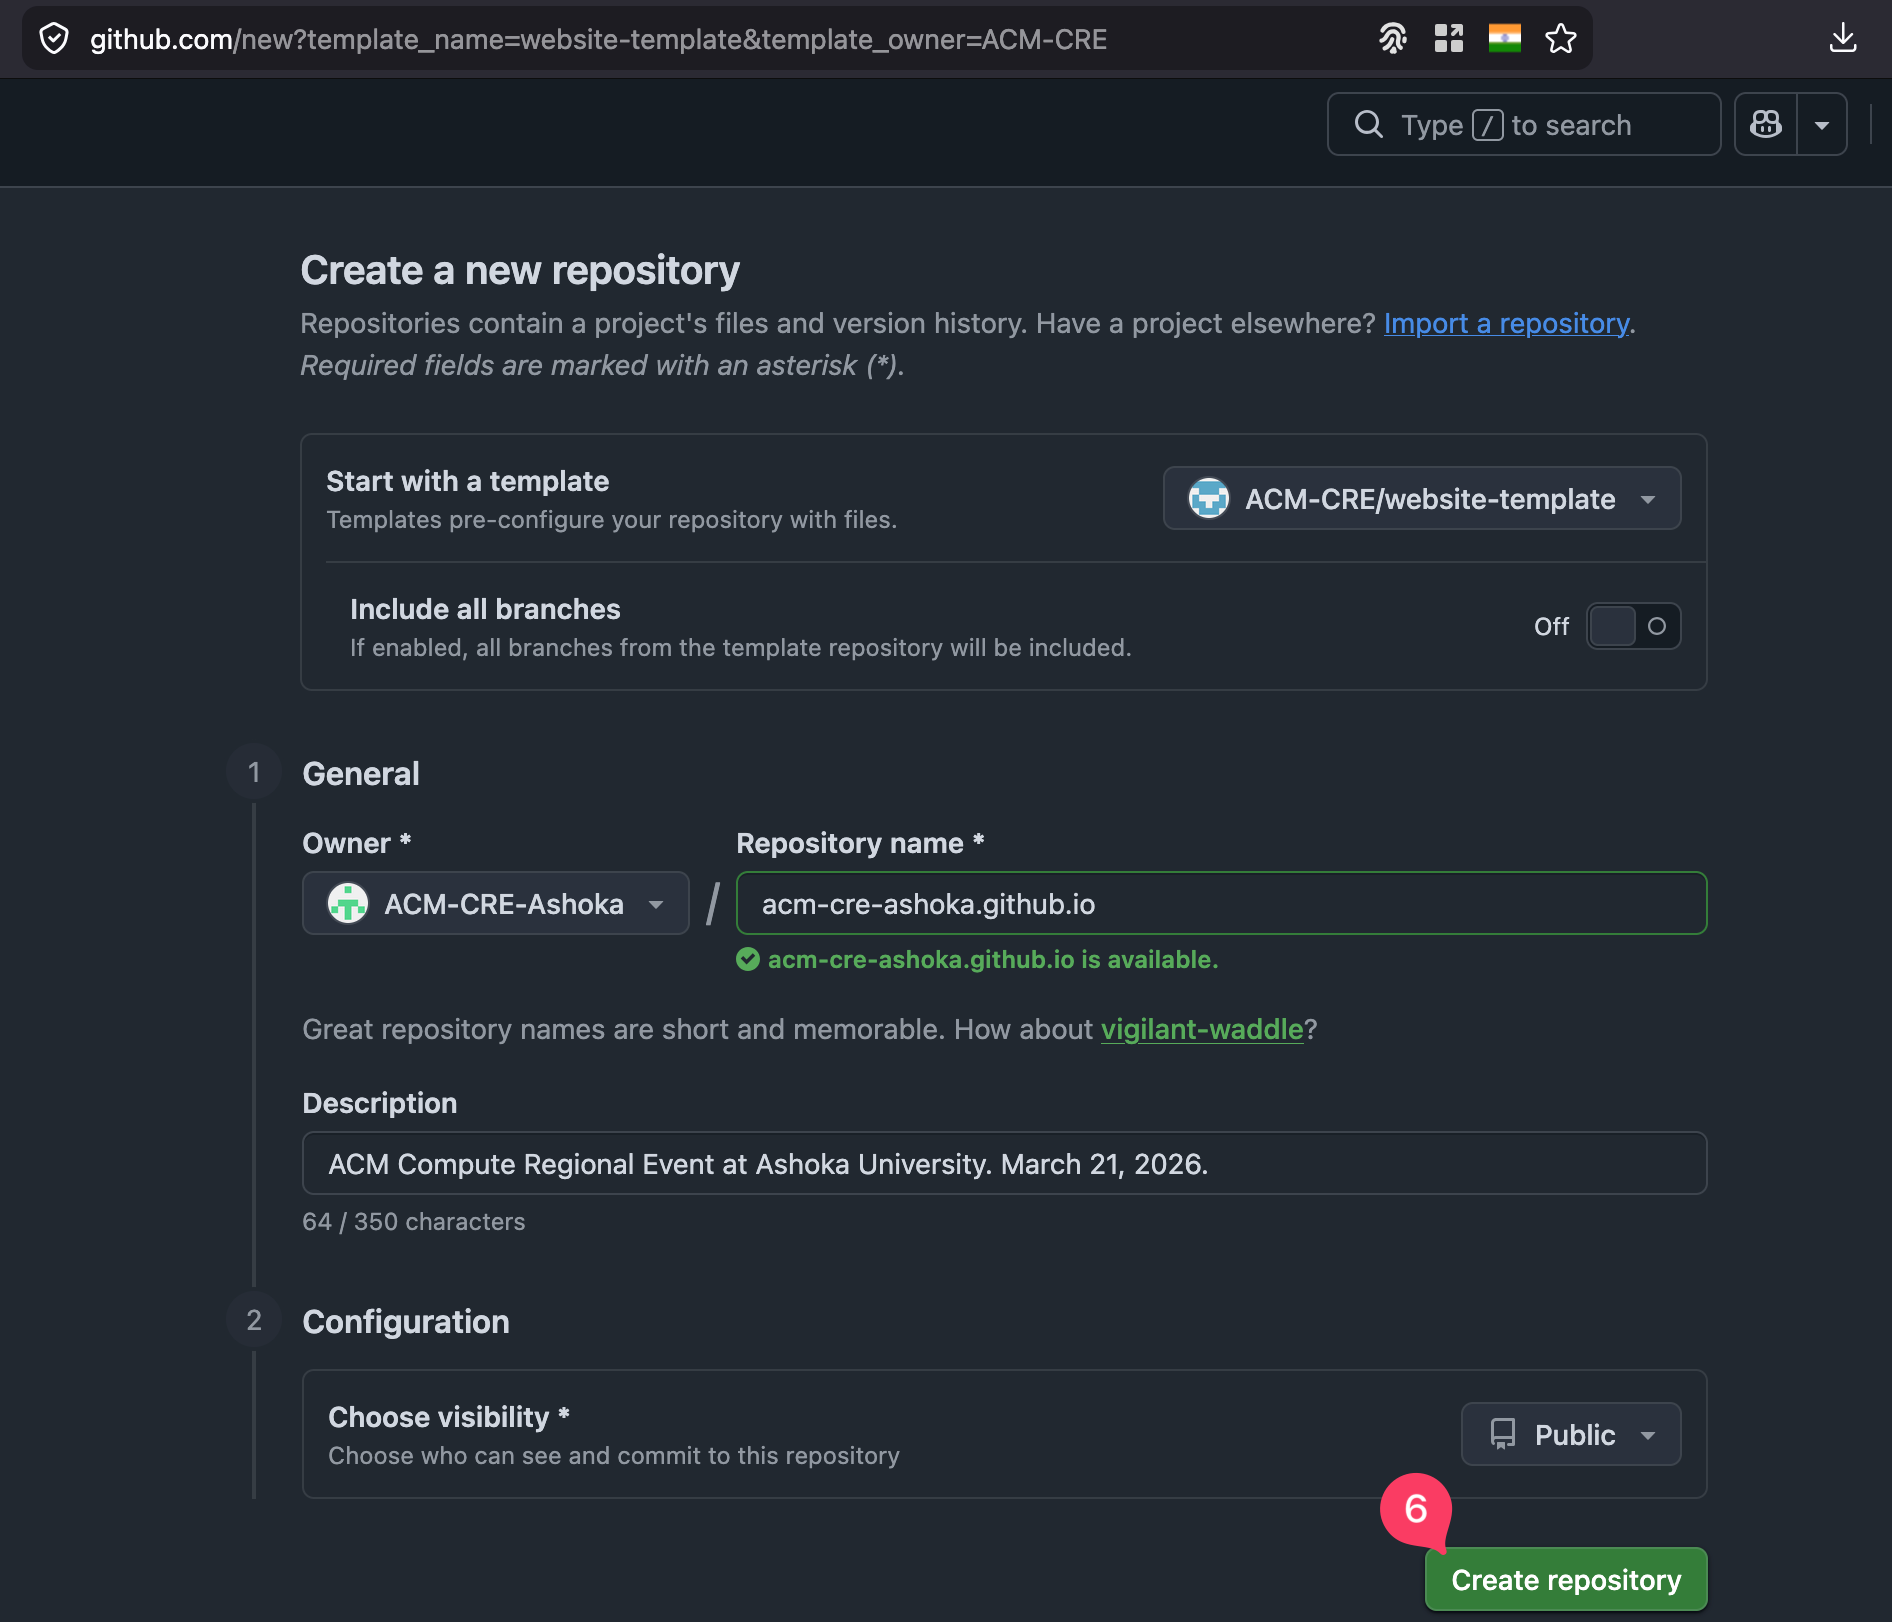
Step 2: Create your repository from the template
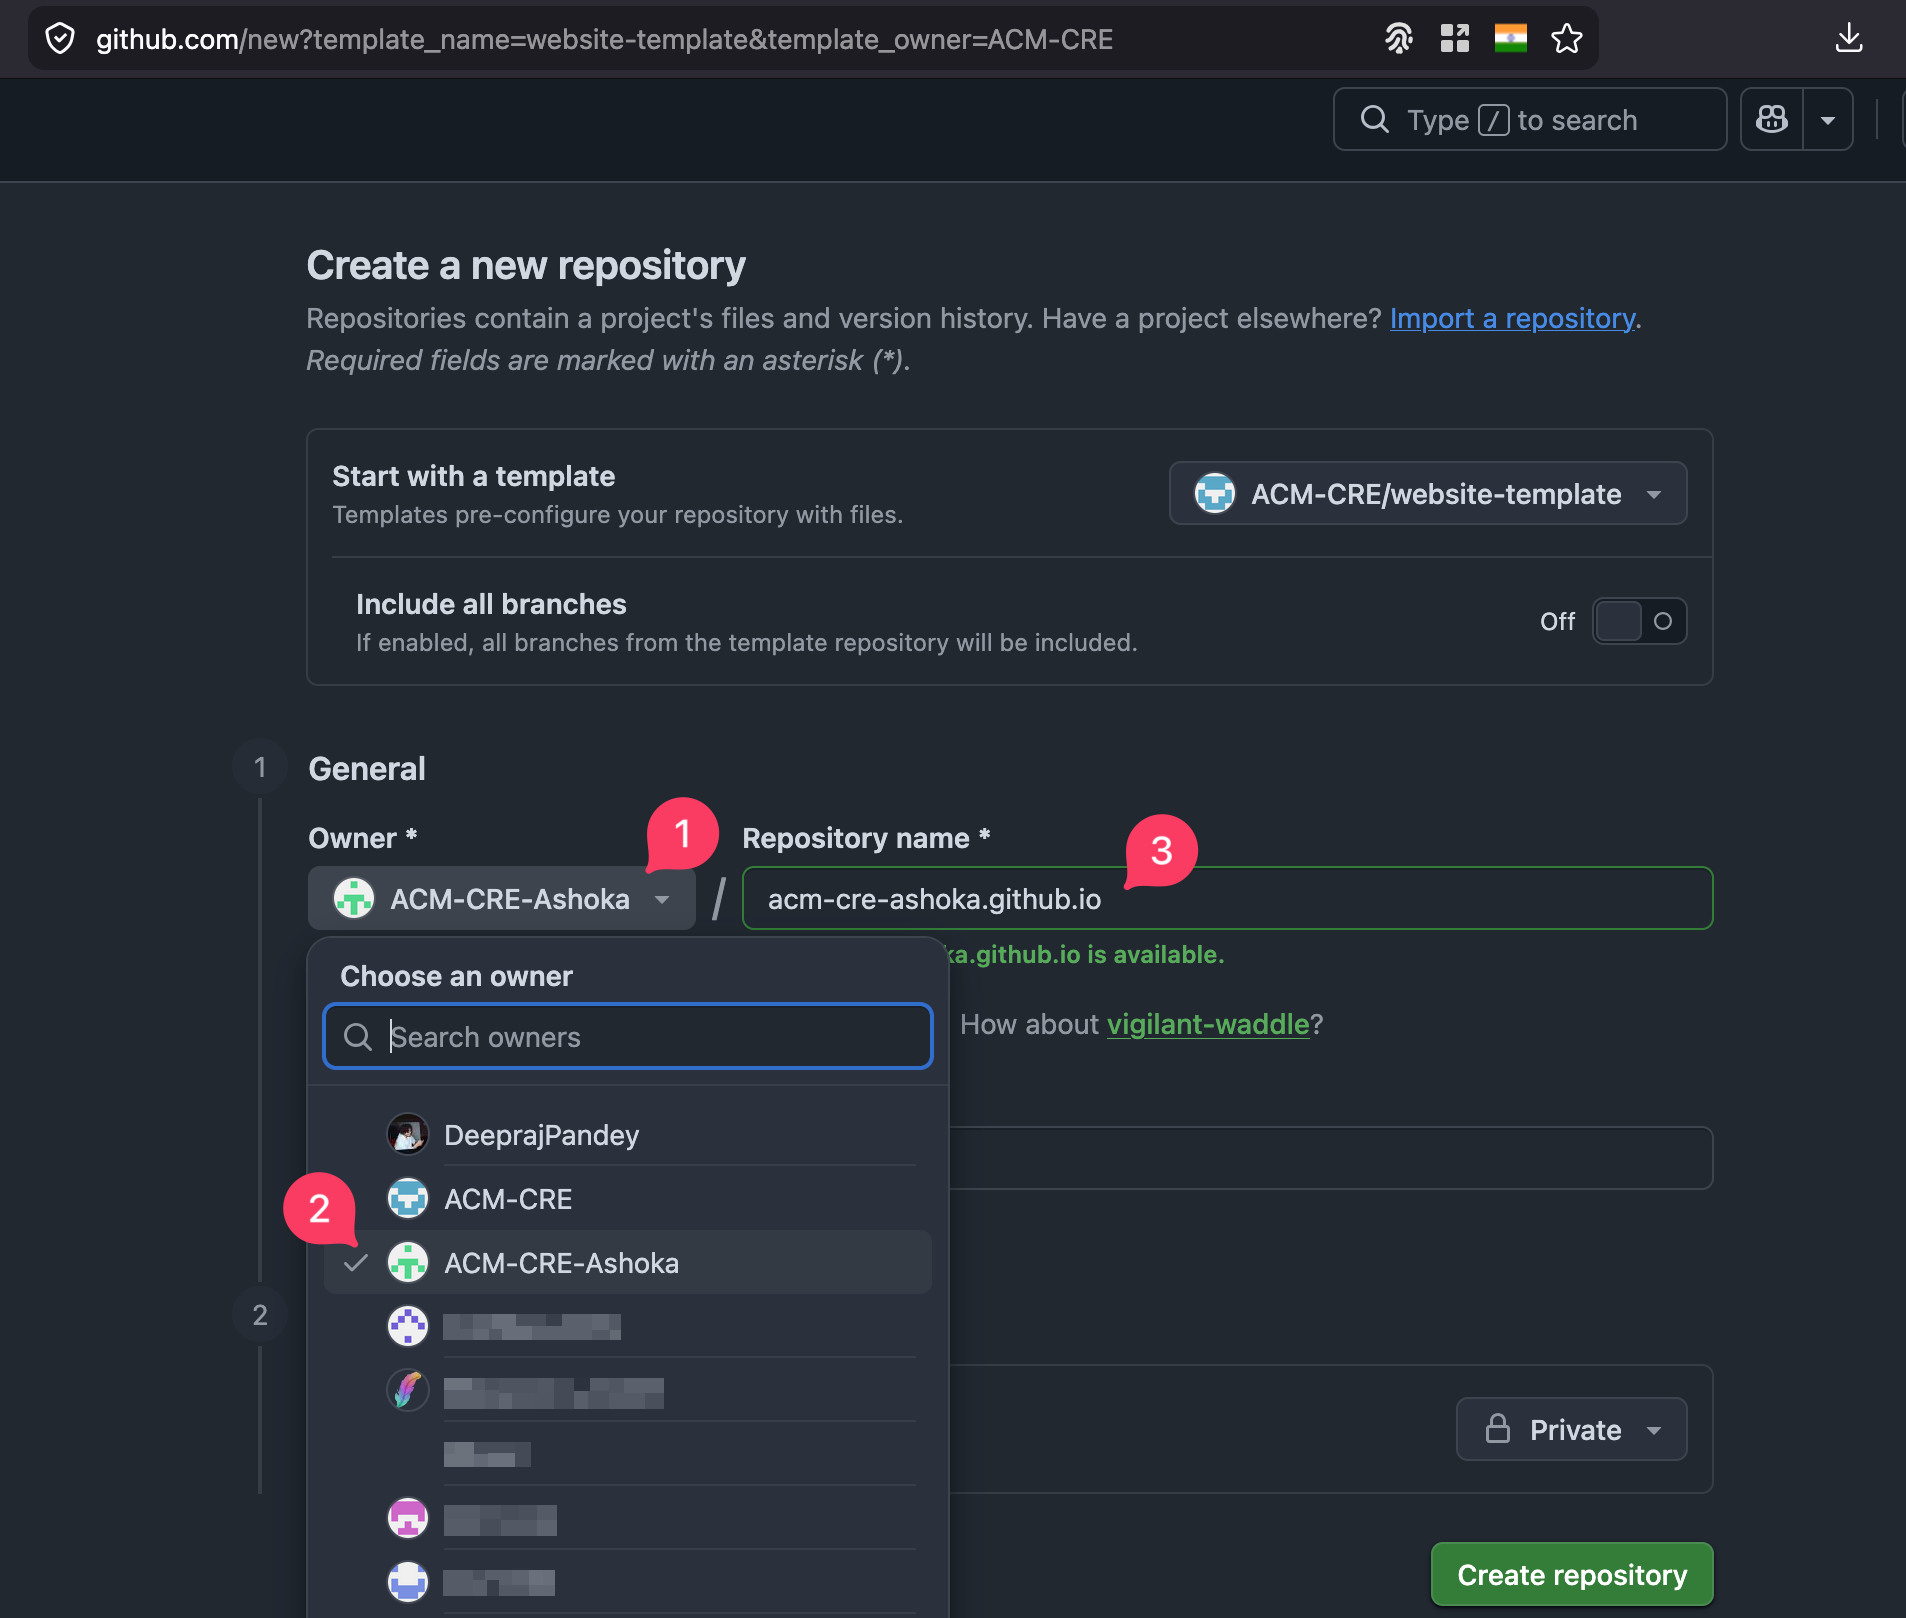
Go to github.com/ACM-CRE/website-template. Click Use this template and choose Create a new repository.

In the create-repository form:
- Open the Owner dropdown
- Pick the organisation you created in Step 1
- Set Repository name to
<your-org>.github.io(for exampleacm-cre-ashoka.github.io). Using this exact name means GitHub Pages will serve the site athttps://<your-org>.github.io/with no extra path. If you pick any other name, see Event Details → Site settings later for thebaseurladjustment you will need.
Add a short description, then check the visibility (4) and confirm Public (5).
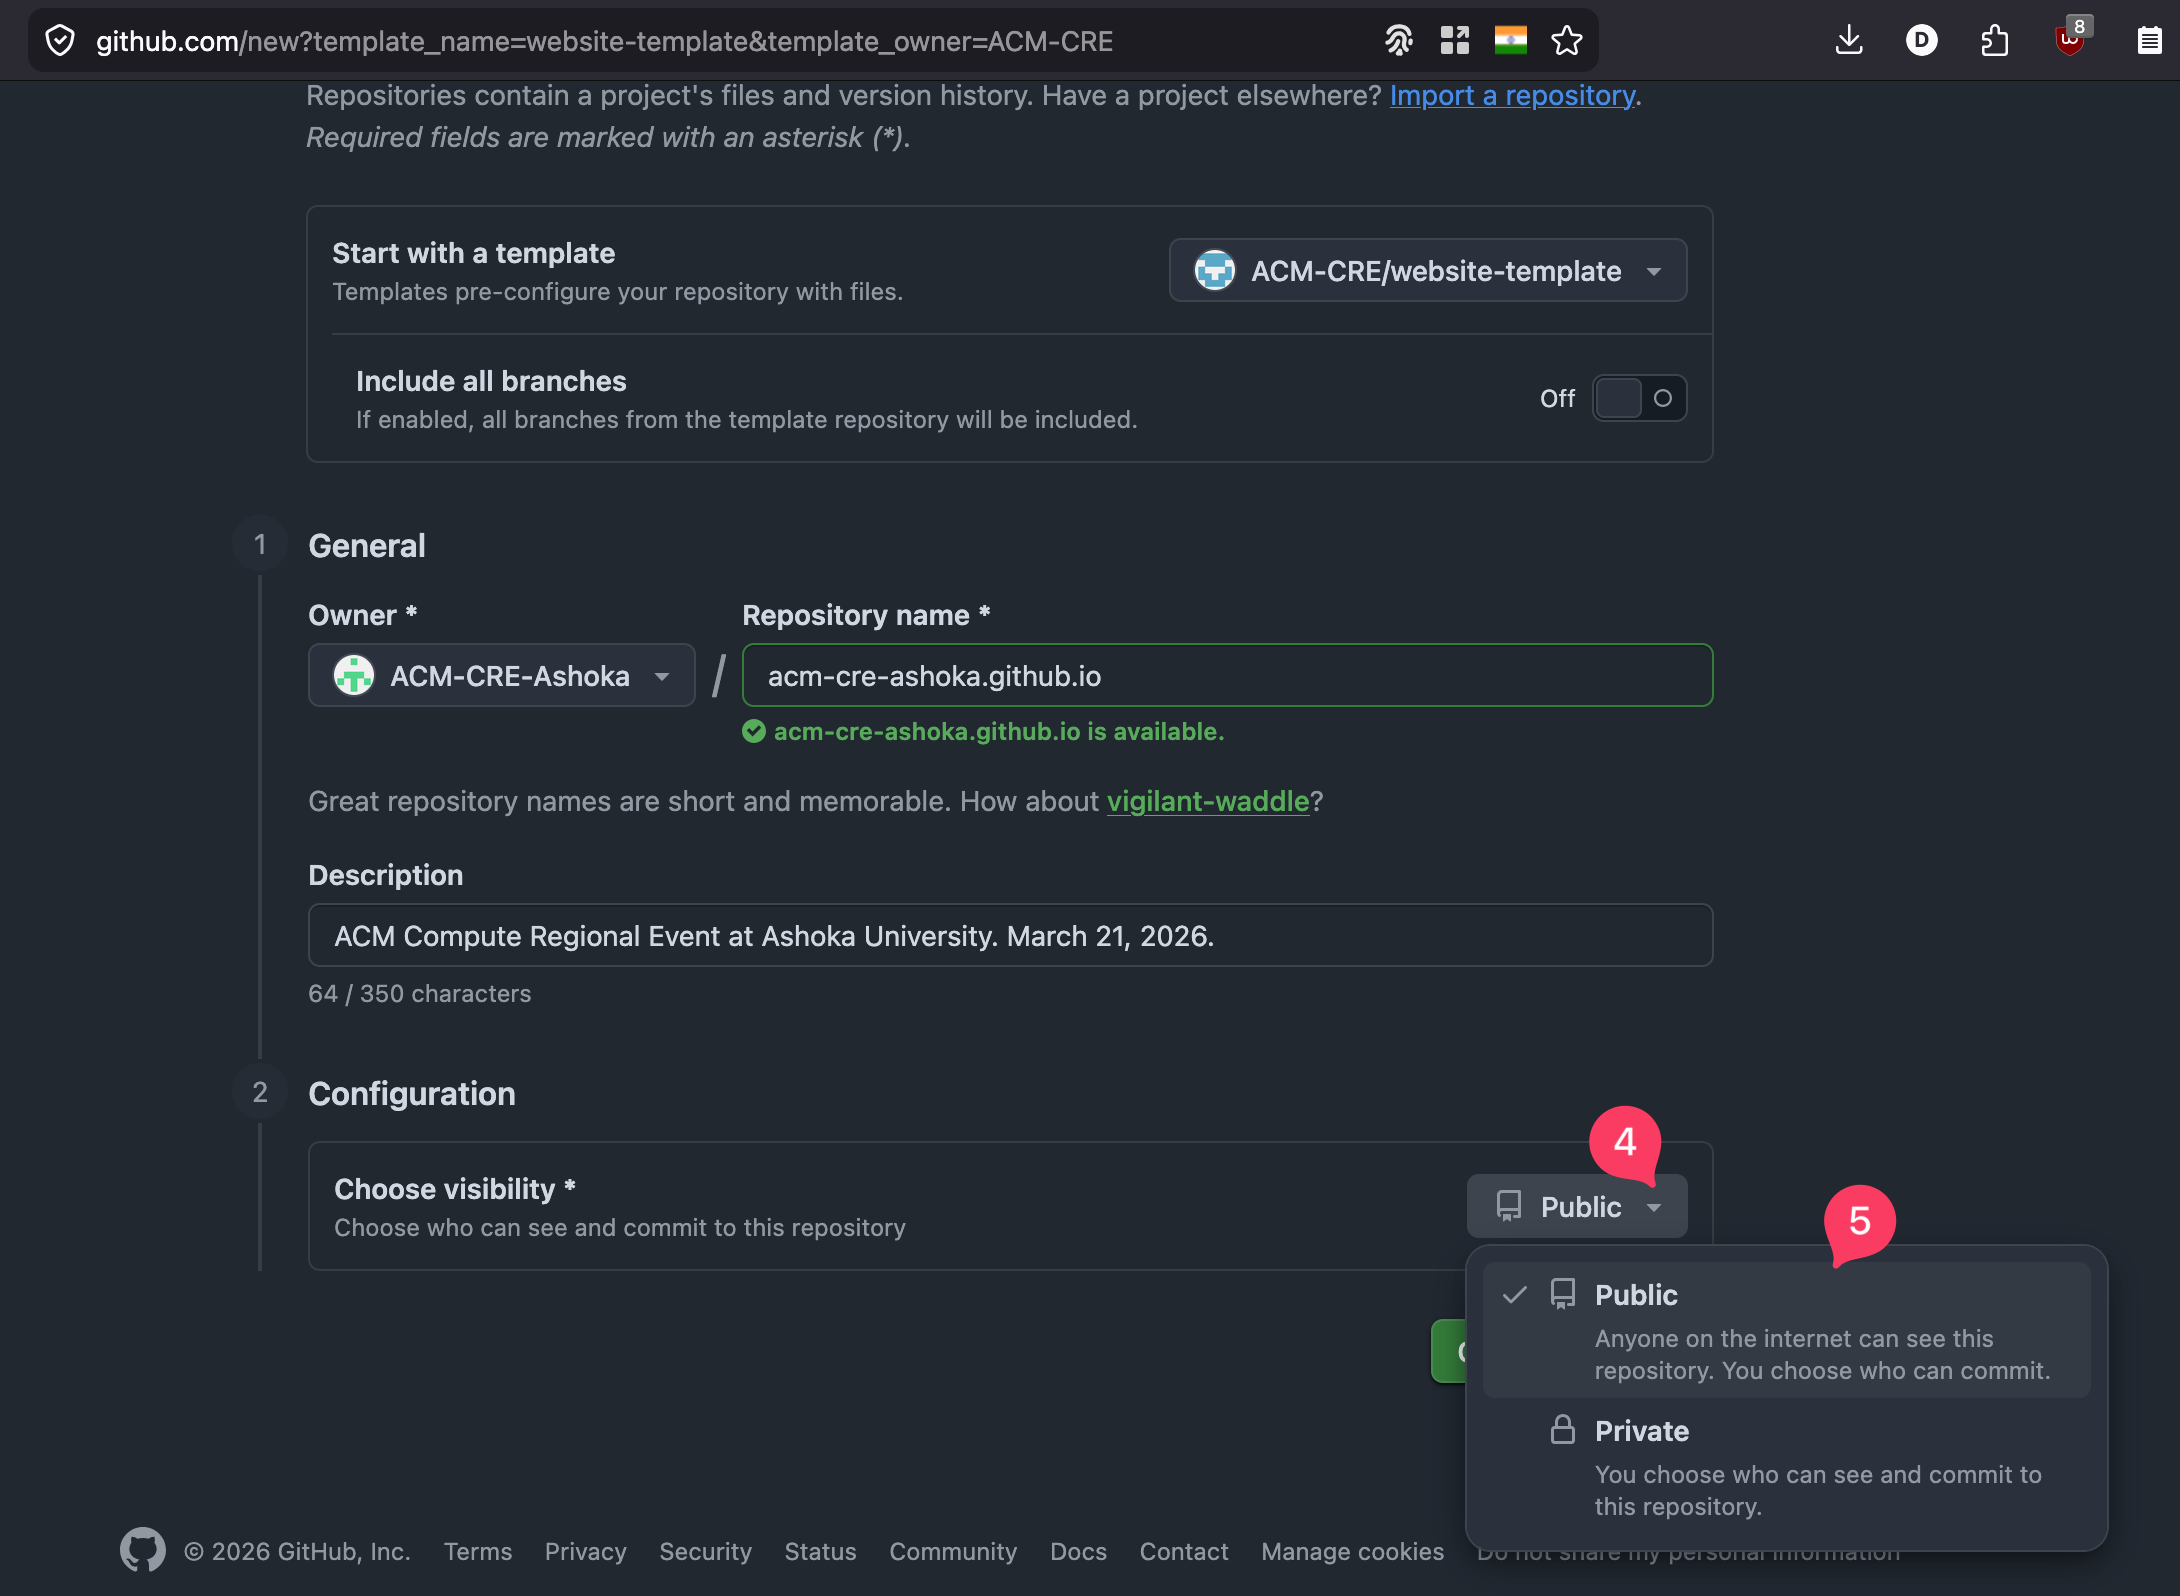
Click Create repository at the bottom.
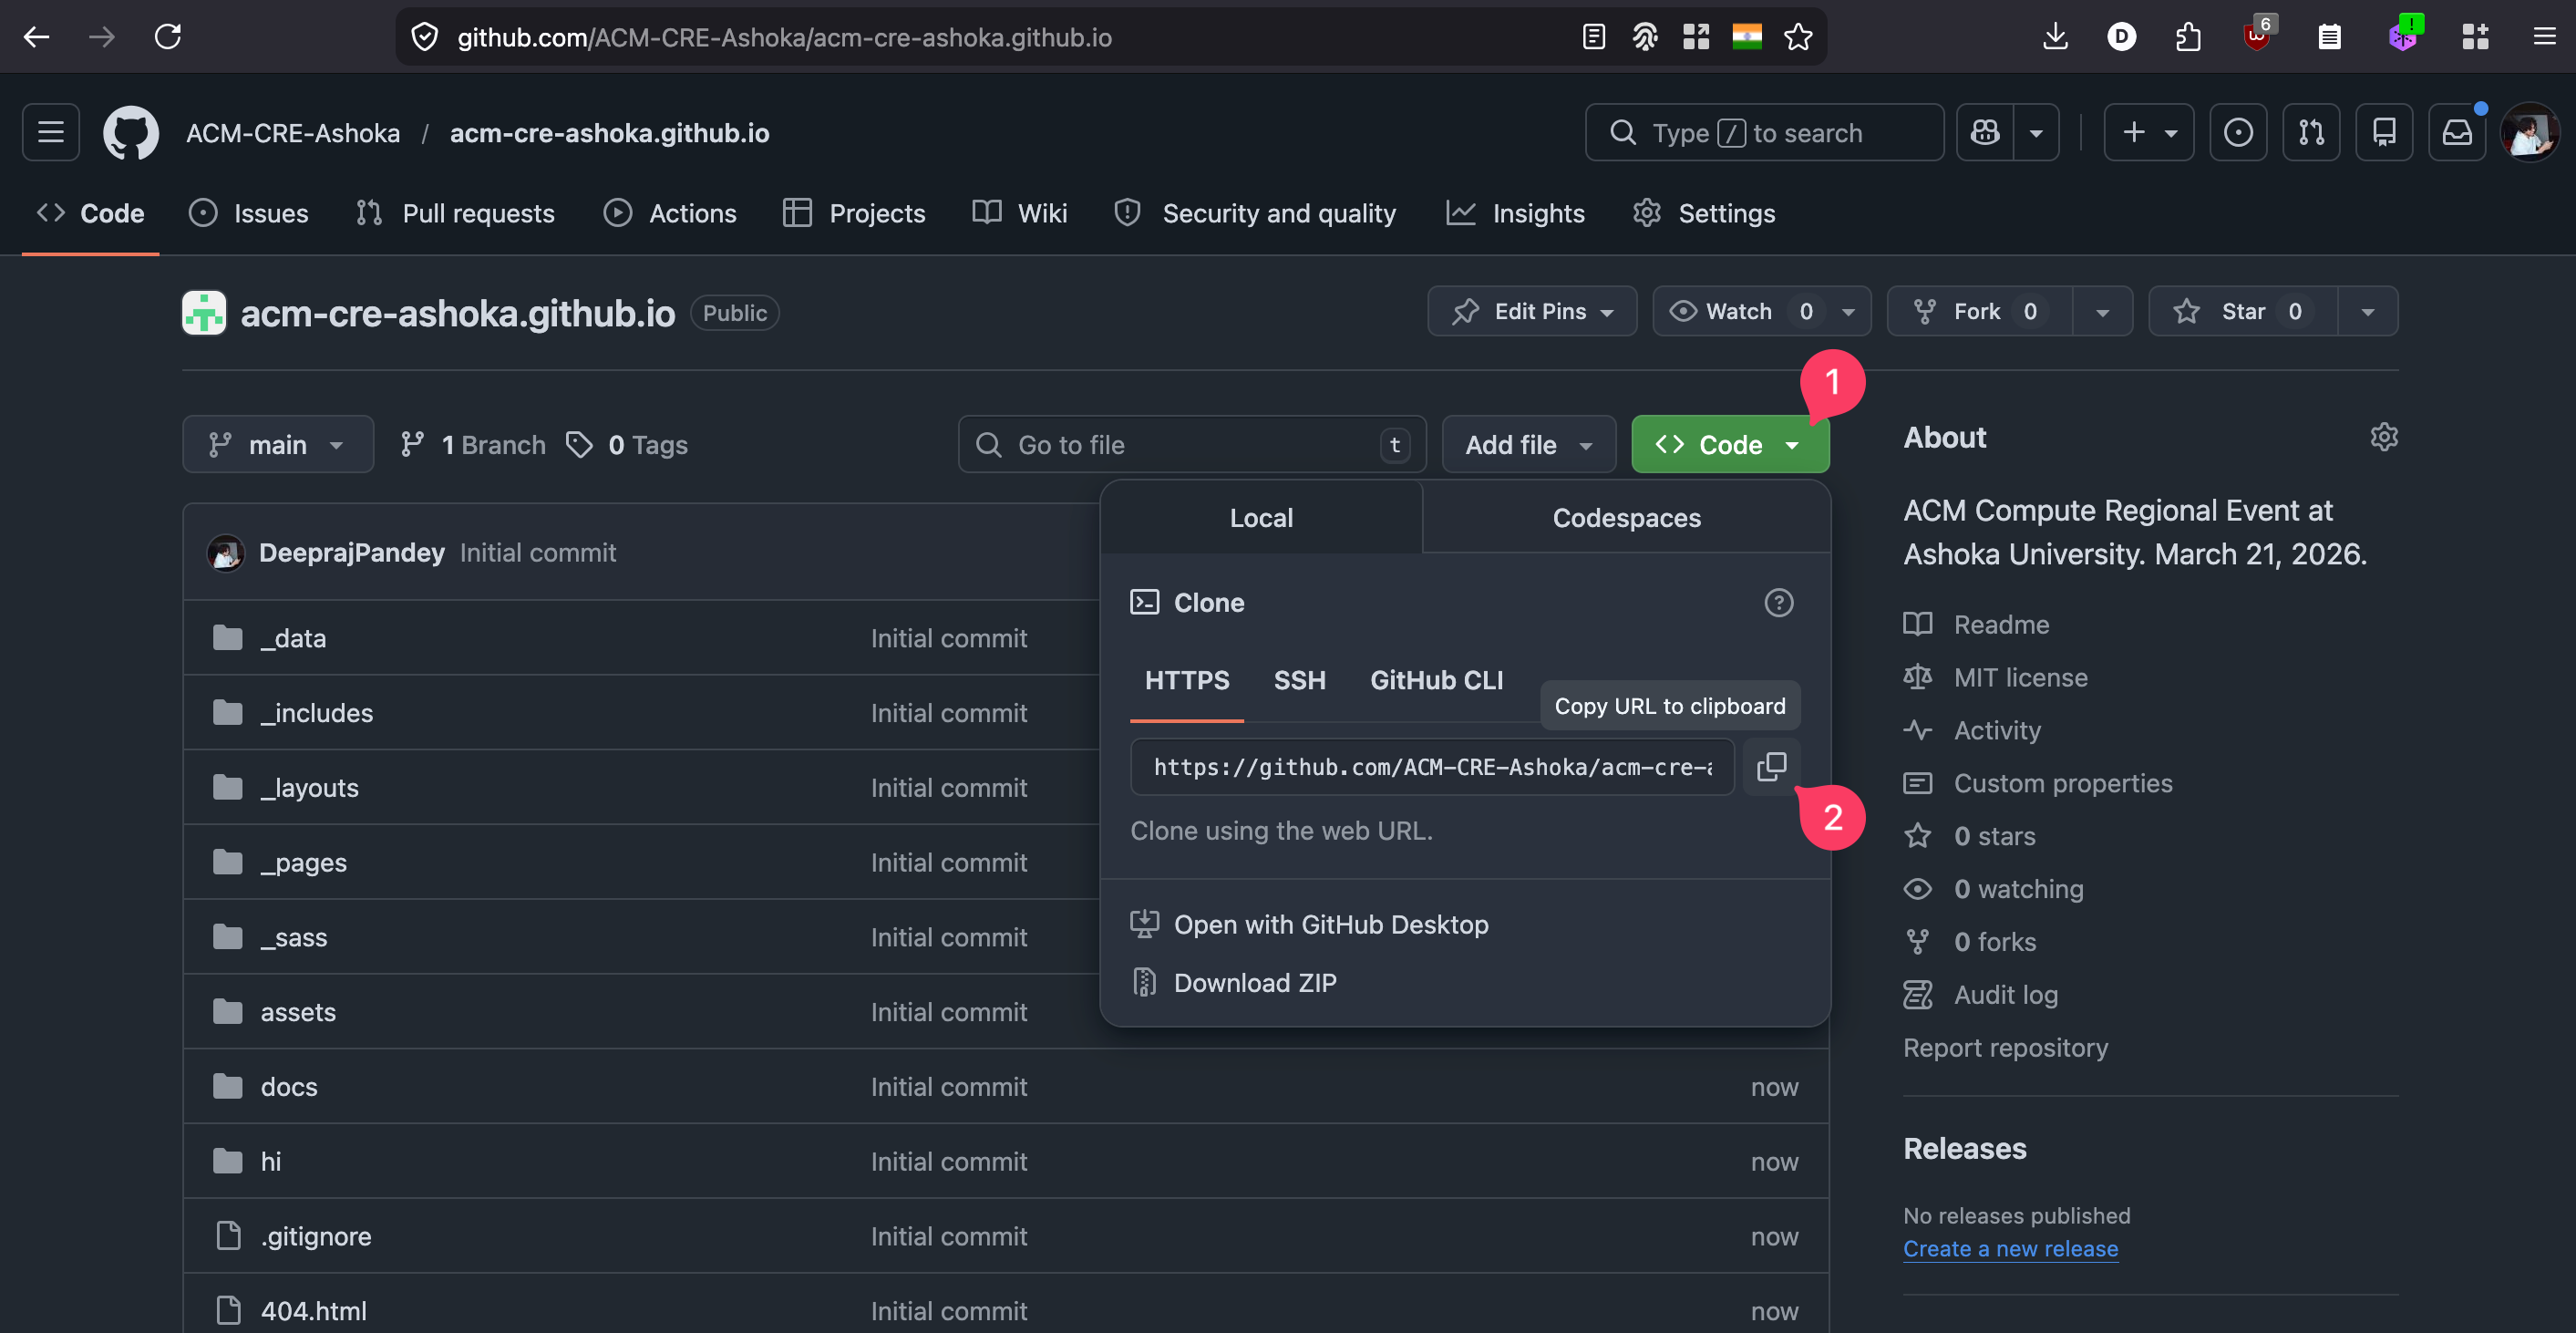
You now have your own copy of the template. Click the green Code button and copy the HTTPS clone URL. You will need it in Step 5.
For more details see GitHub’s guide on creating from a template.
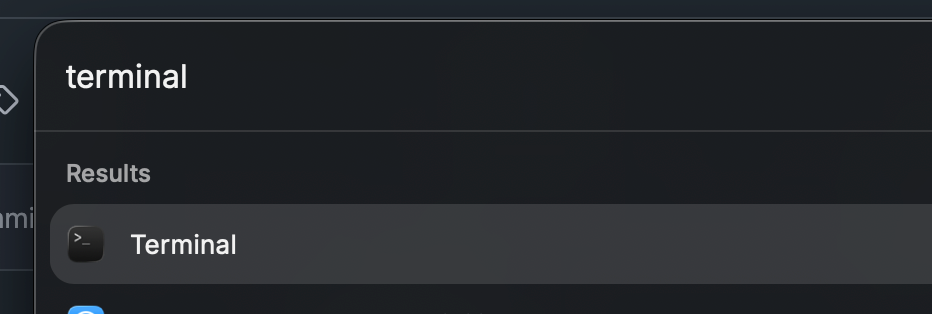
Step 3: Open Terminal
Press Cmd + Space to open Spotlight, type terminal, and press Enter.
Leave Terminal open. The remaining steps all run inside it.
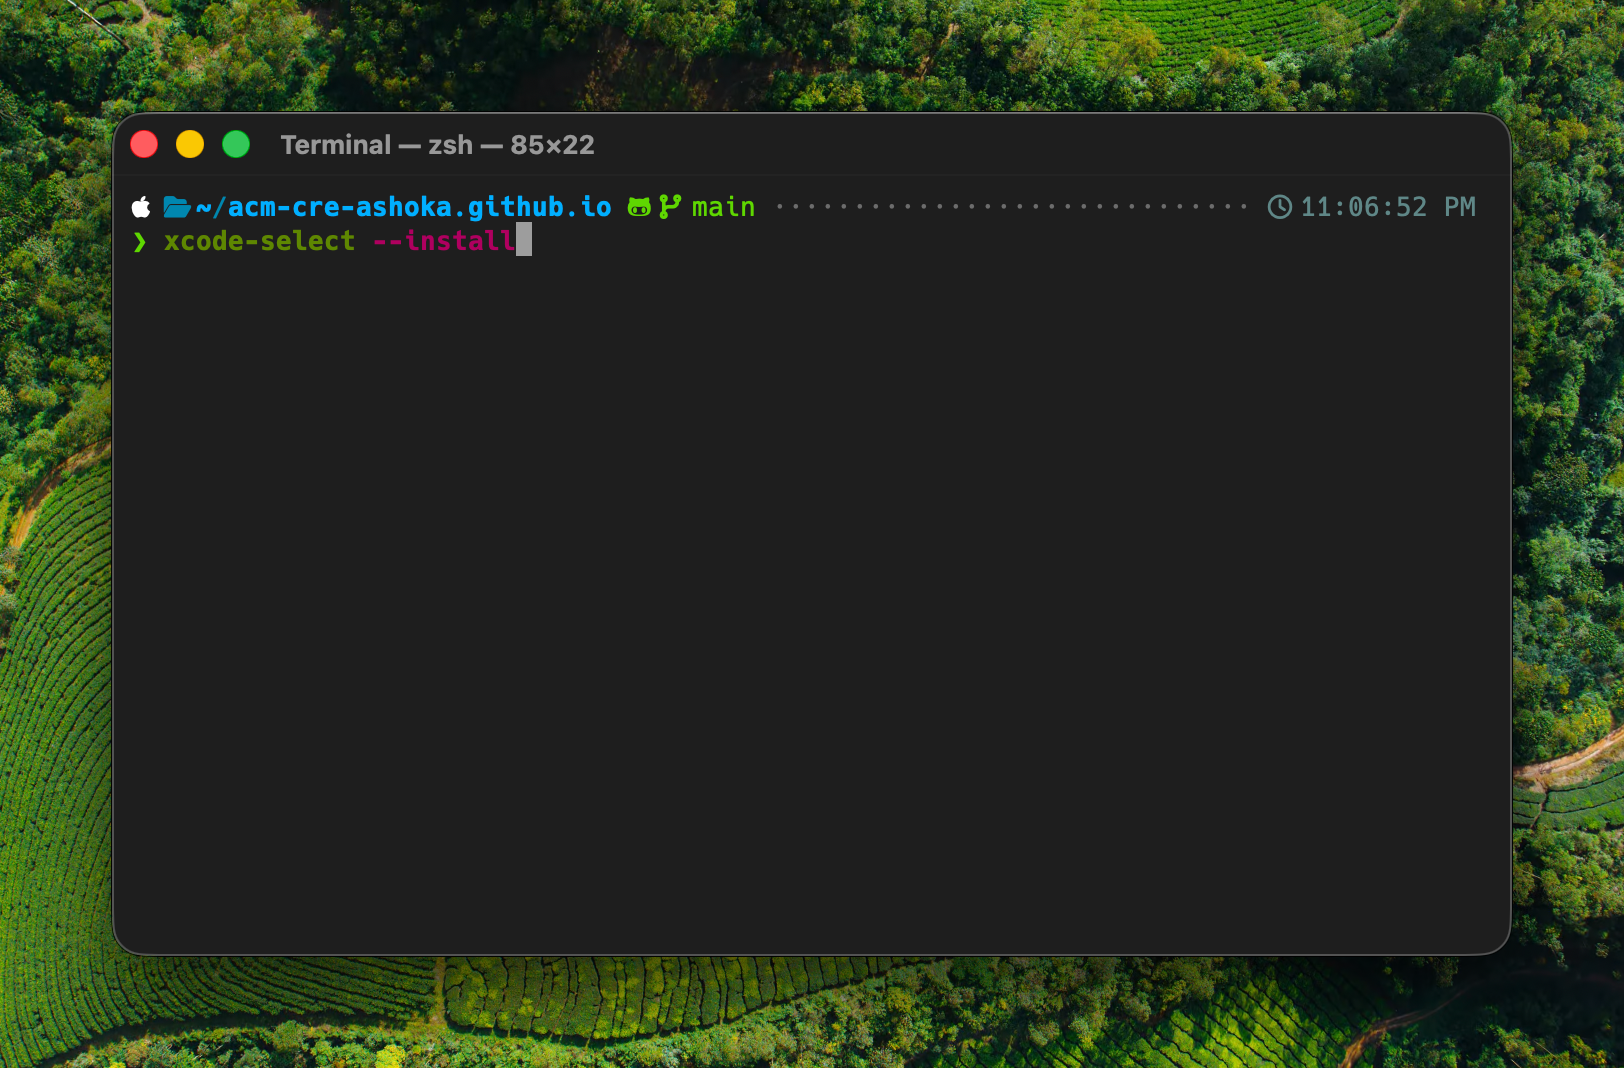
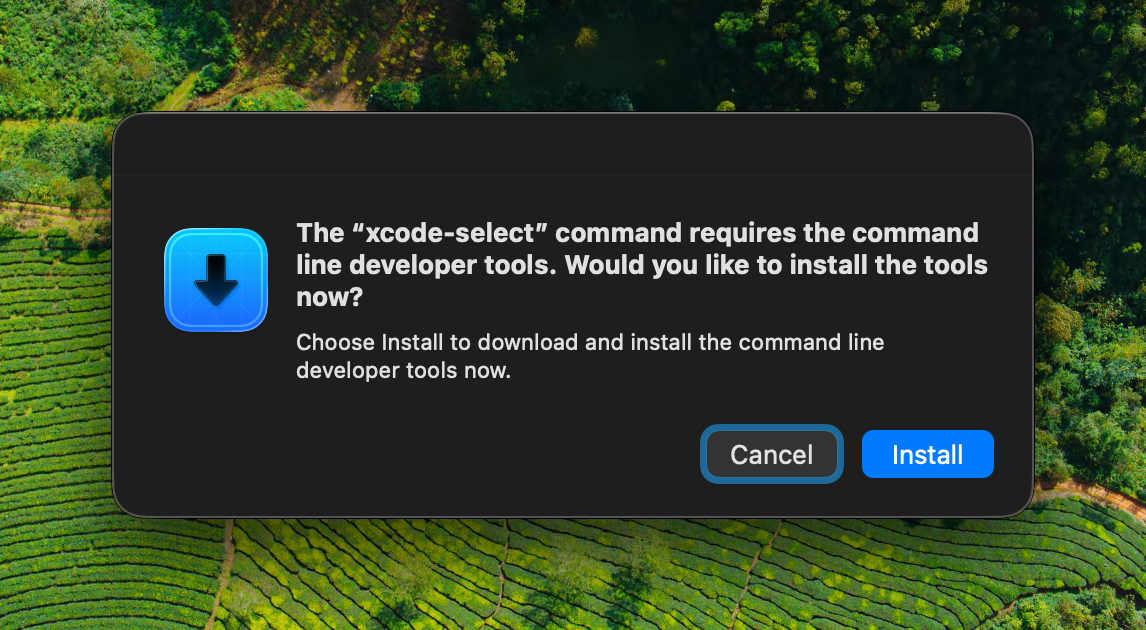
Step 4: Install the Xcode Command Line Tools
The Command Line Tools give you git, a C compiler, and the system headers that several Ruby gems need to build. On a fresh Mac you almost certainly do not have them yet.
Run:
xcode-select --install
A system dialog appears. Click Install.
Accept the licence agreement to start the download.
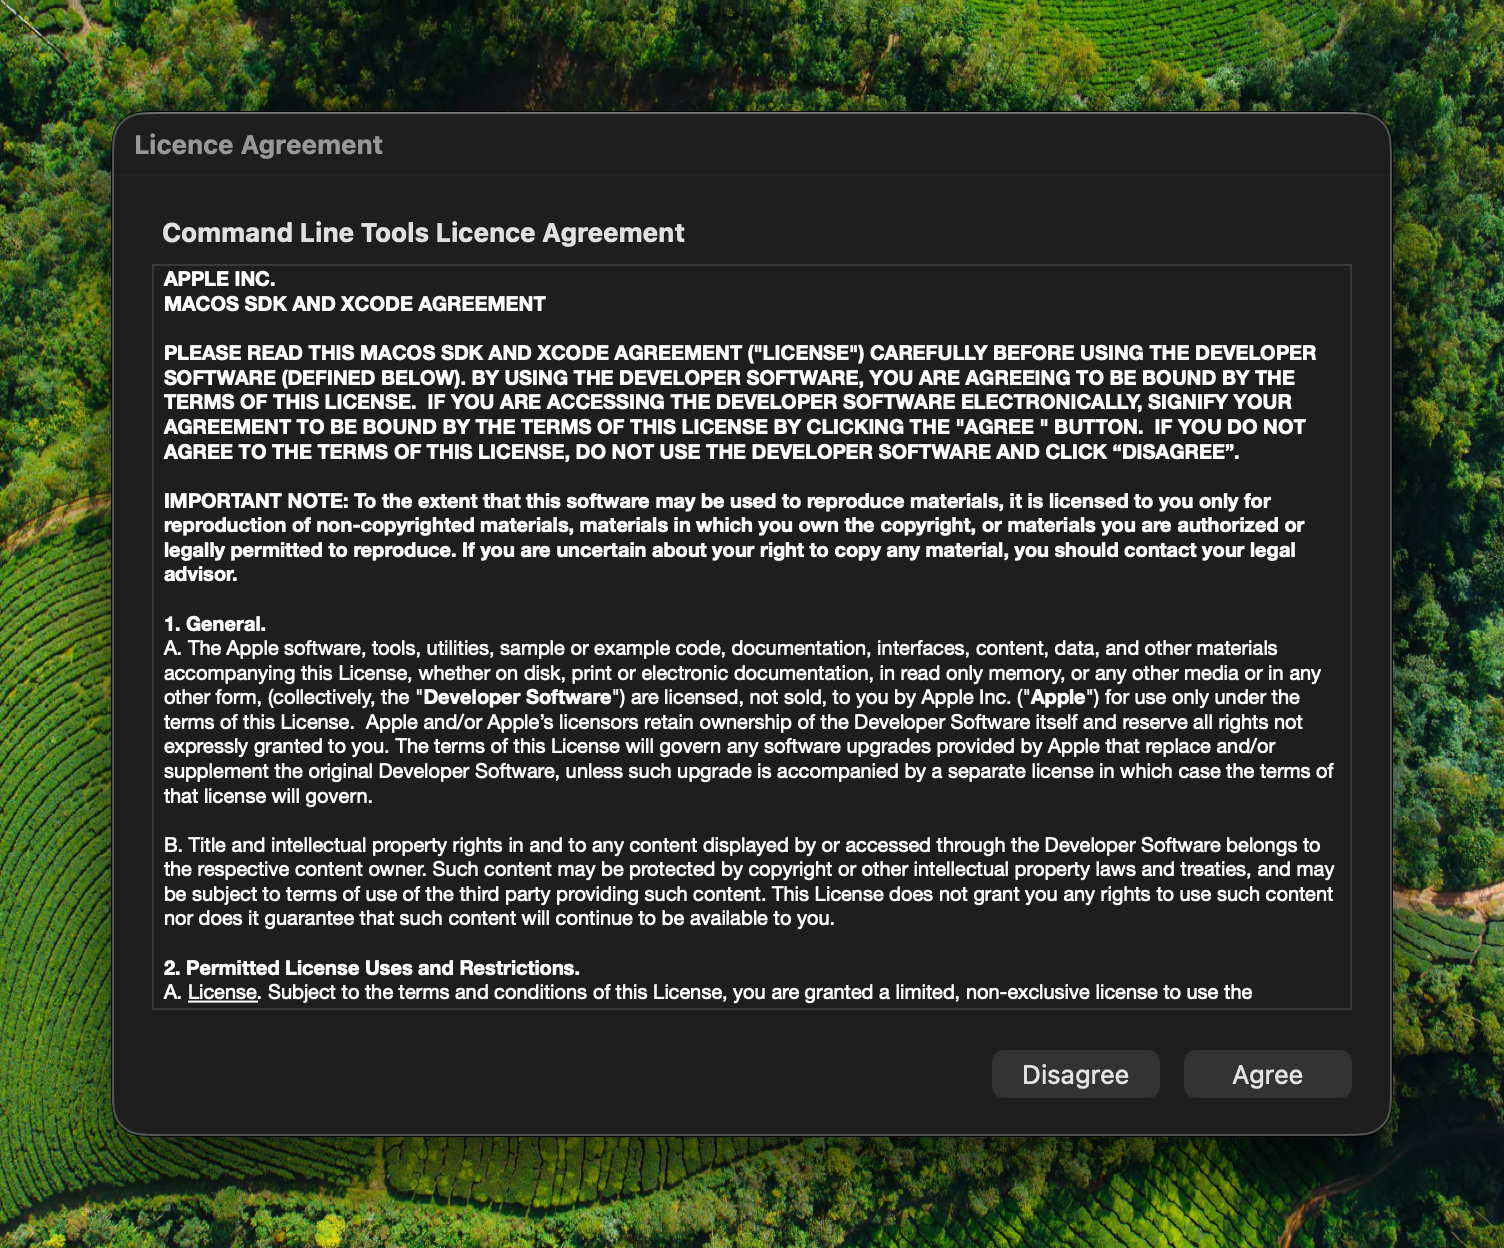
Wait for the installer to finish. This can take several minutes depending on your connection.
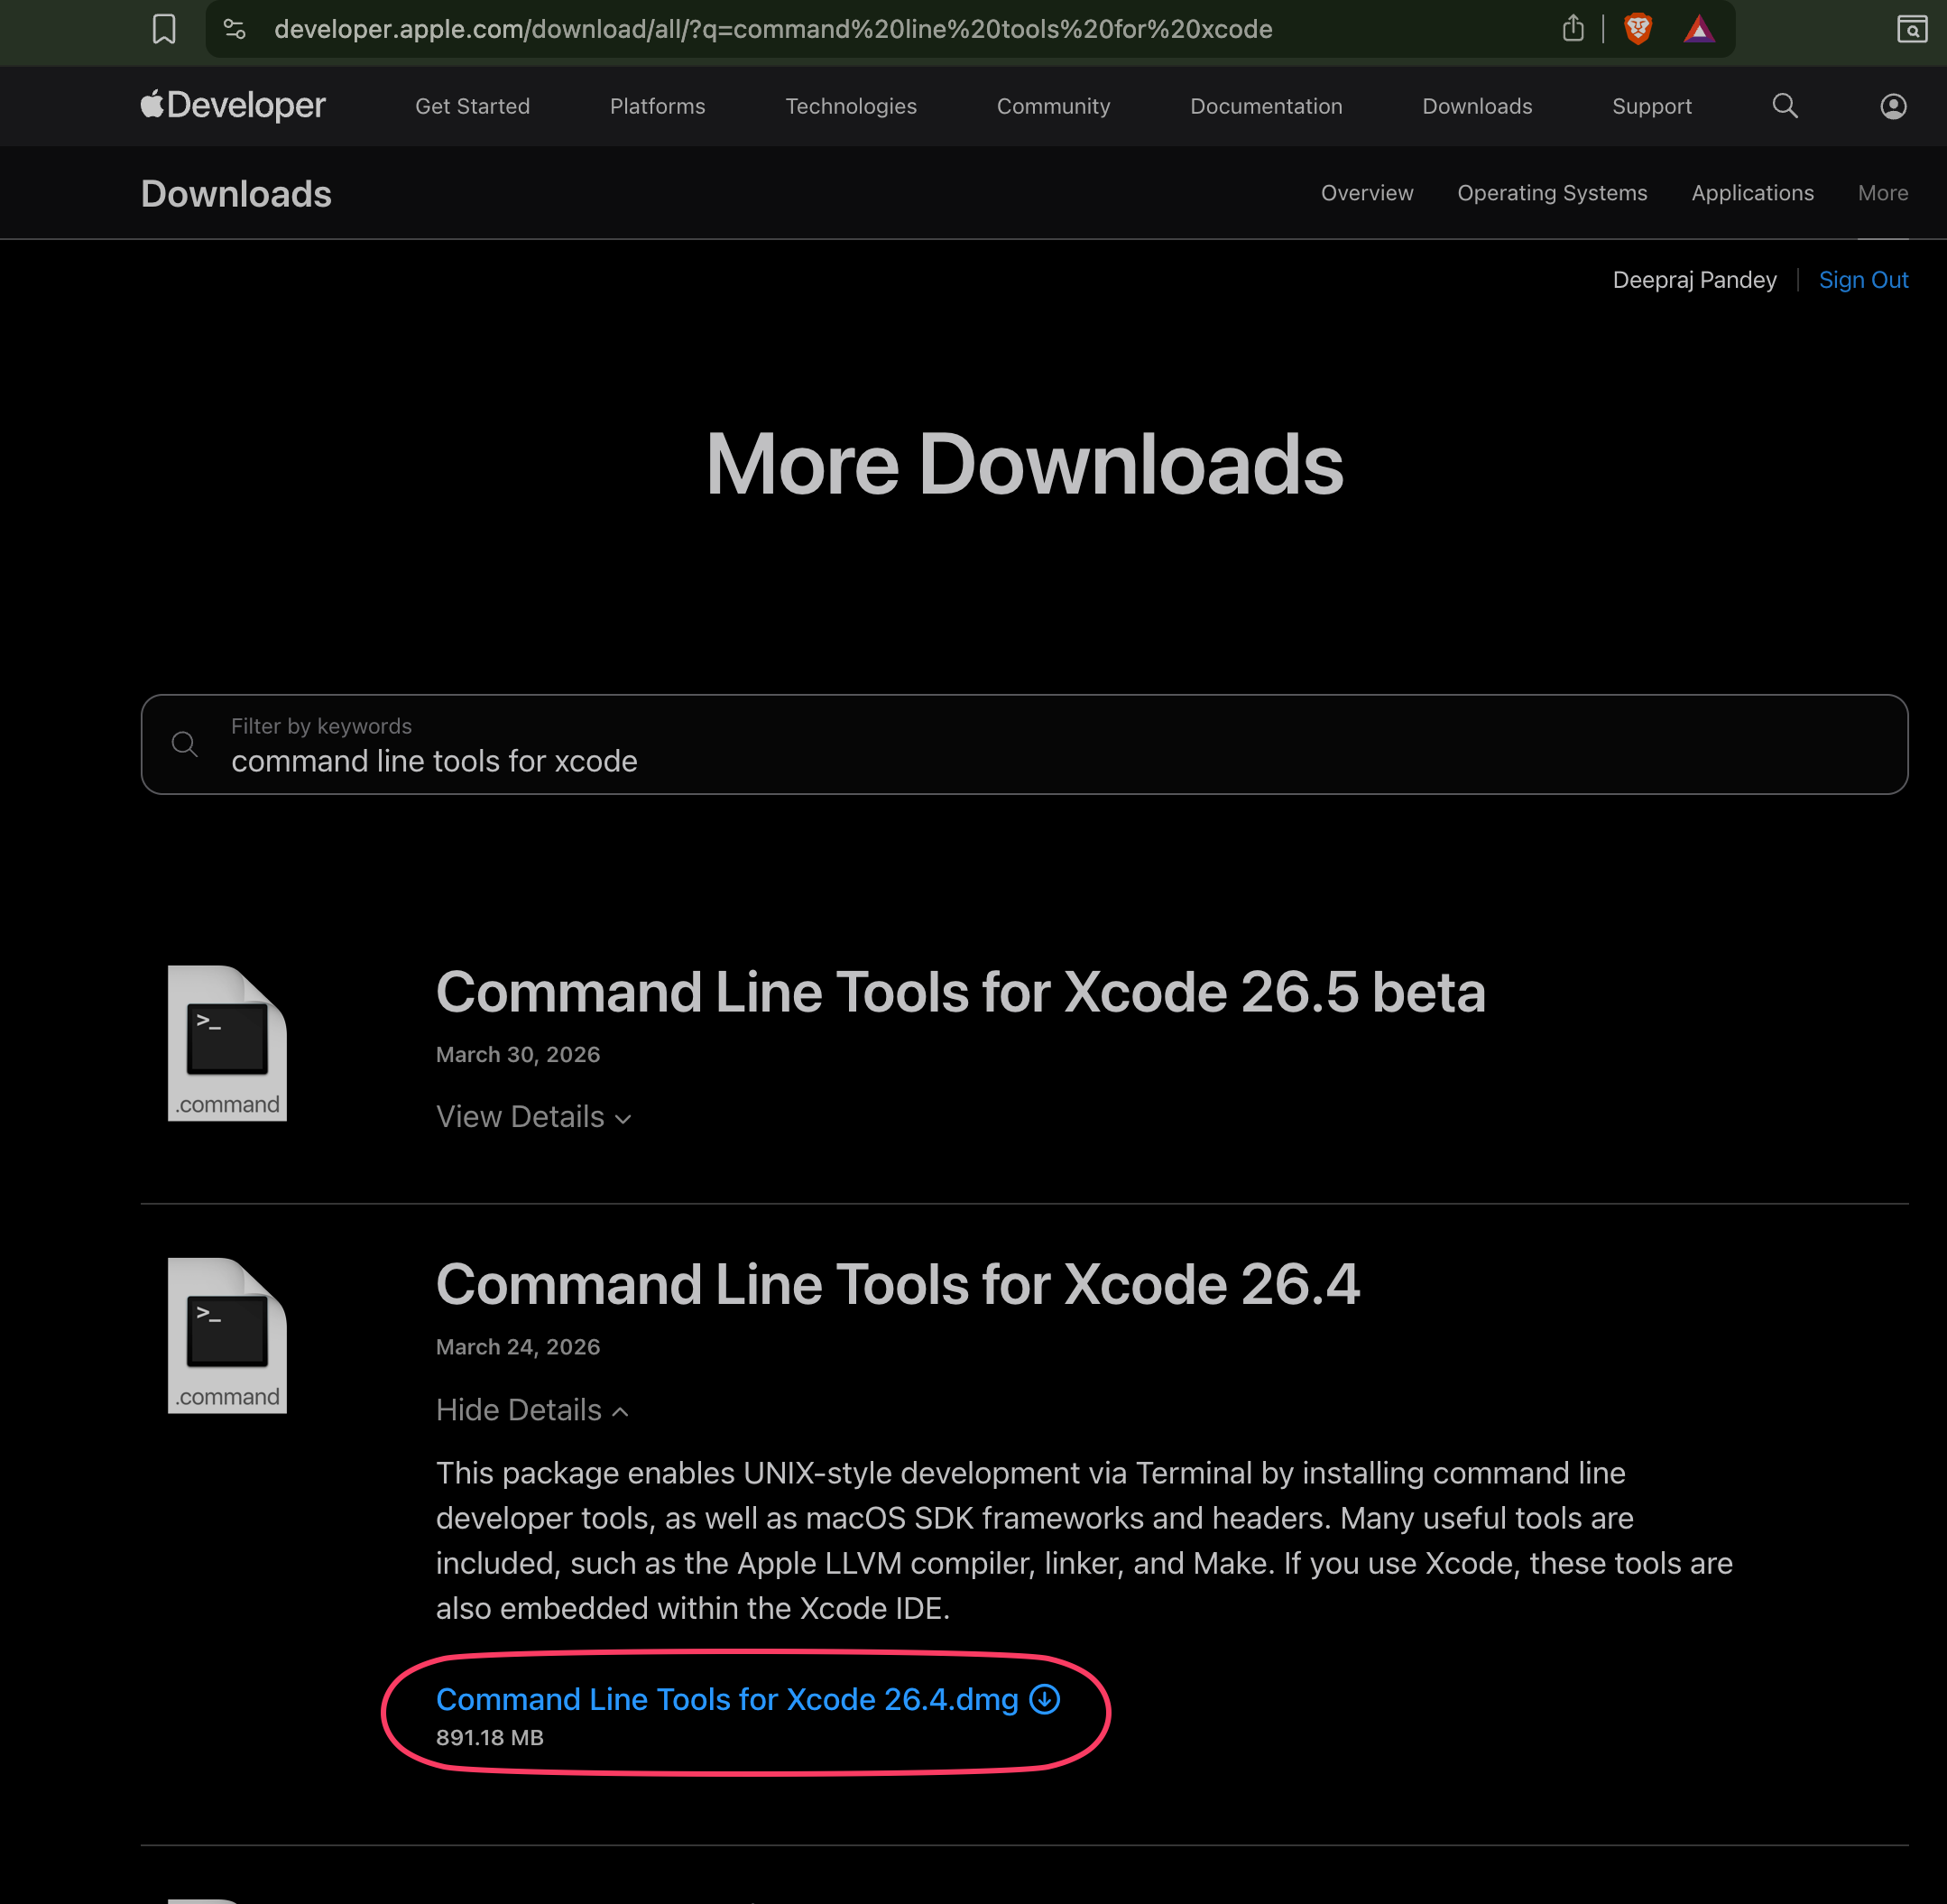
If xcode-select --install fails
On older macOS versions you may see the error Xcode is not currently available from the software update server. In that case, download the installer manually:
- Go to developer.apple.com/download/all and sign in with your Apple ID.
- Find the Command Line Tools for Xcode release that matches your macOS version. The version must match (for example macOS 26.4 needs the 26.4 release).
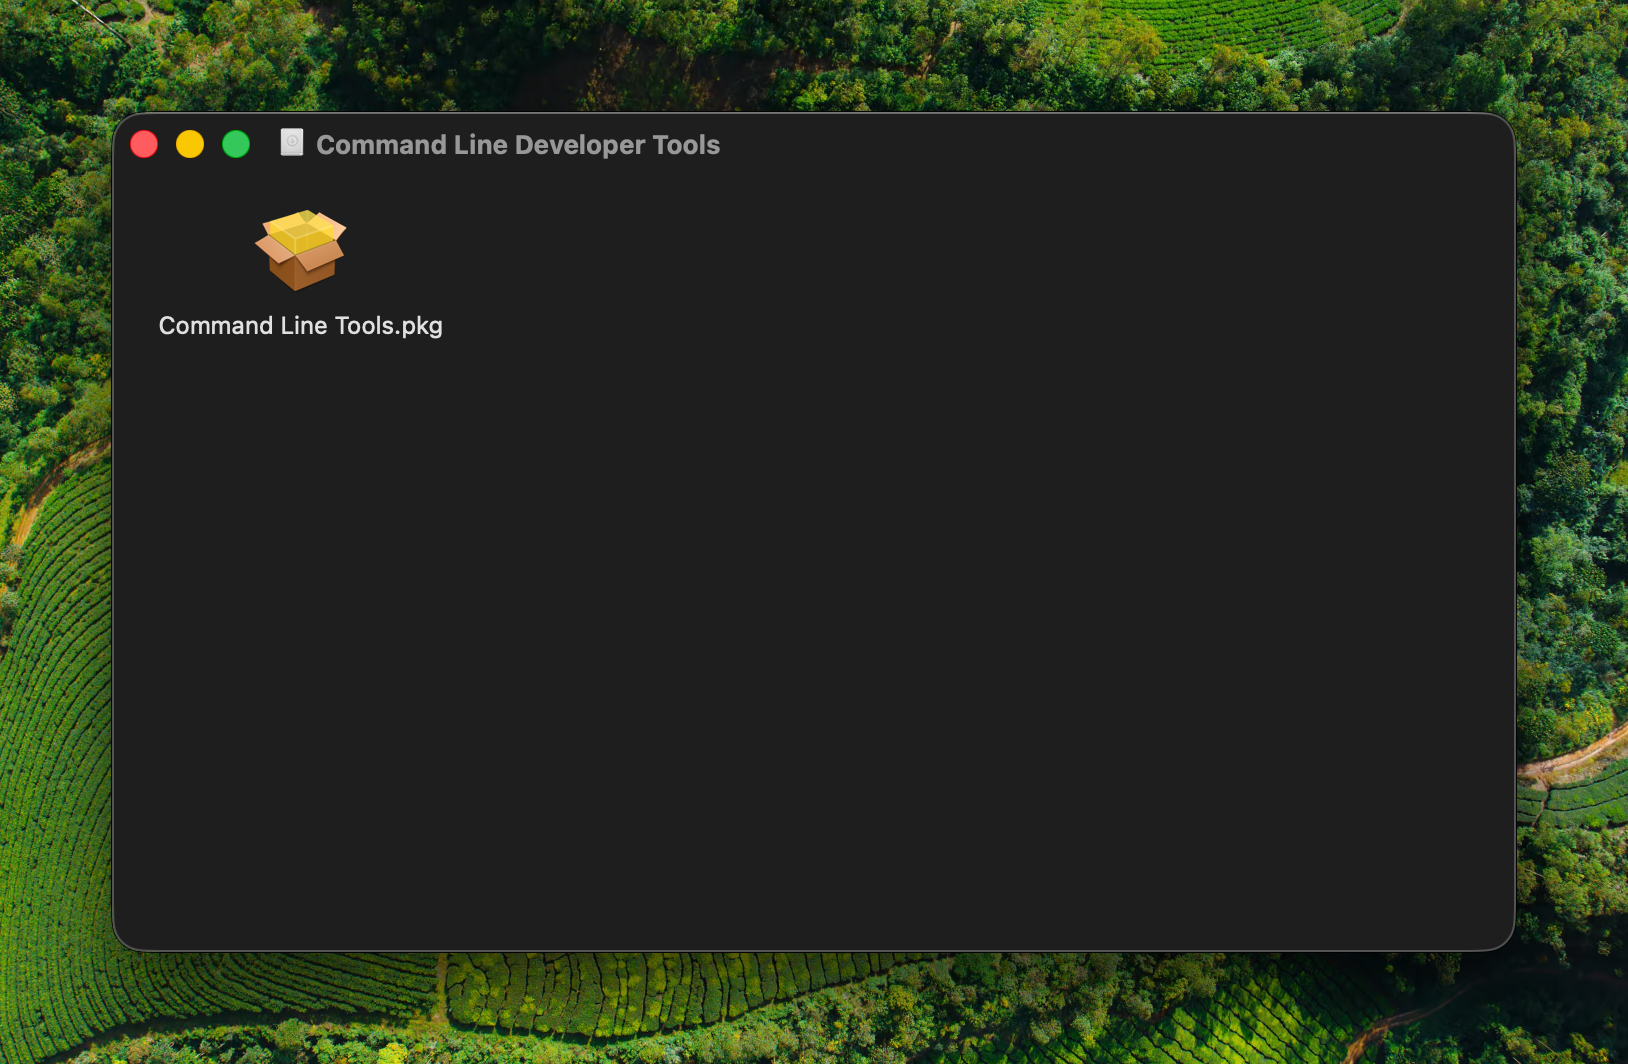
- Download the
.dmg, open it, and runCommand Line Tools.pkg. Click through the installer.
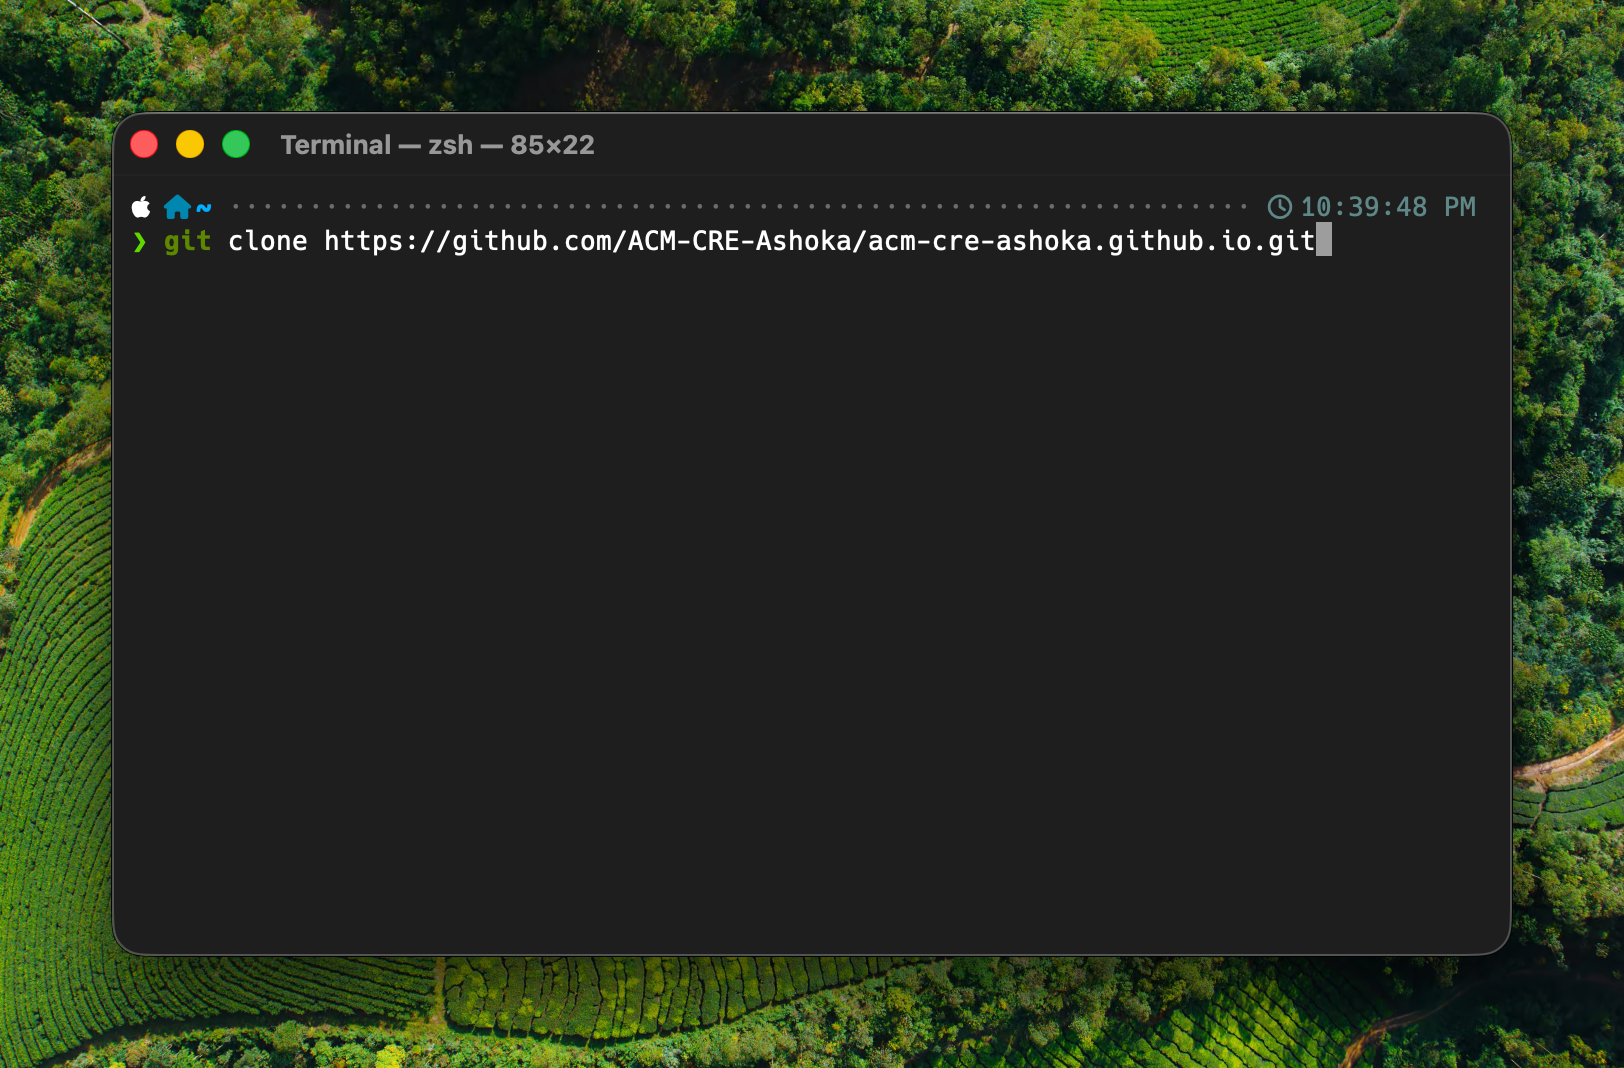
Step 5: Clone your repository
Back in Terminal, paste the git clone command using the URL you copied in Step 2:
git clone https://github.com/<your-org>/<your-repo>.git
When the clone finishes, change into the project directory:
cd <your-repo>

Step 6: Install mise
mise manages programming language versions per project. The template uses it to pin Ruby to the version it was tested with.
Install mise:
curl https://mise.run | sh
Activate mise in your shell by adding it to your zsh configuration, then sourcing the file so the change takes effect immediately:
echo 'eval "$(~/.local/bin/mise activate zsh)"' >> ~/.zshrc
source ~/.zshrc
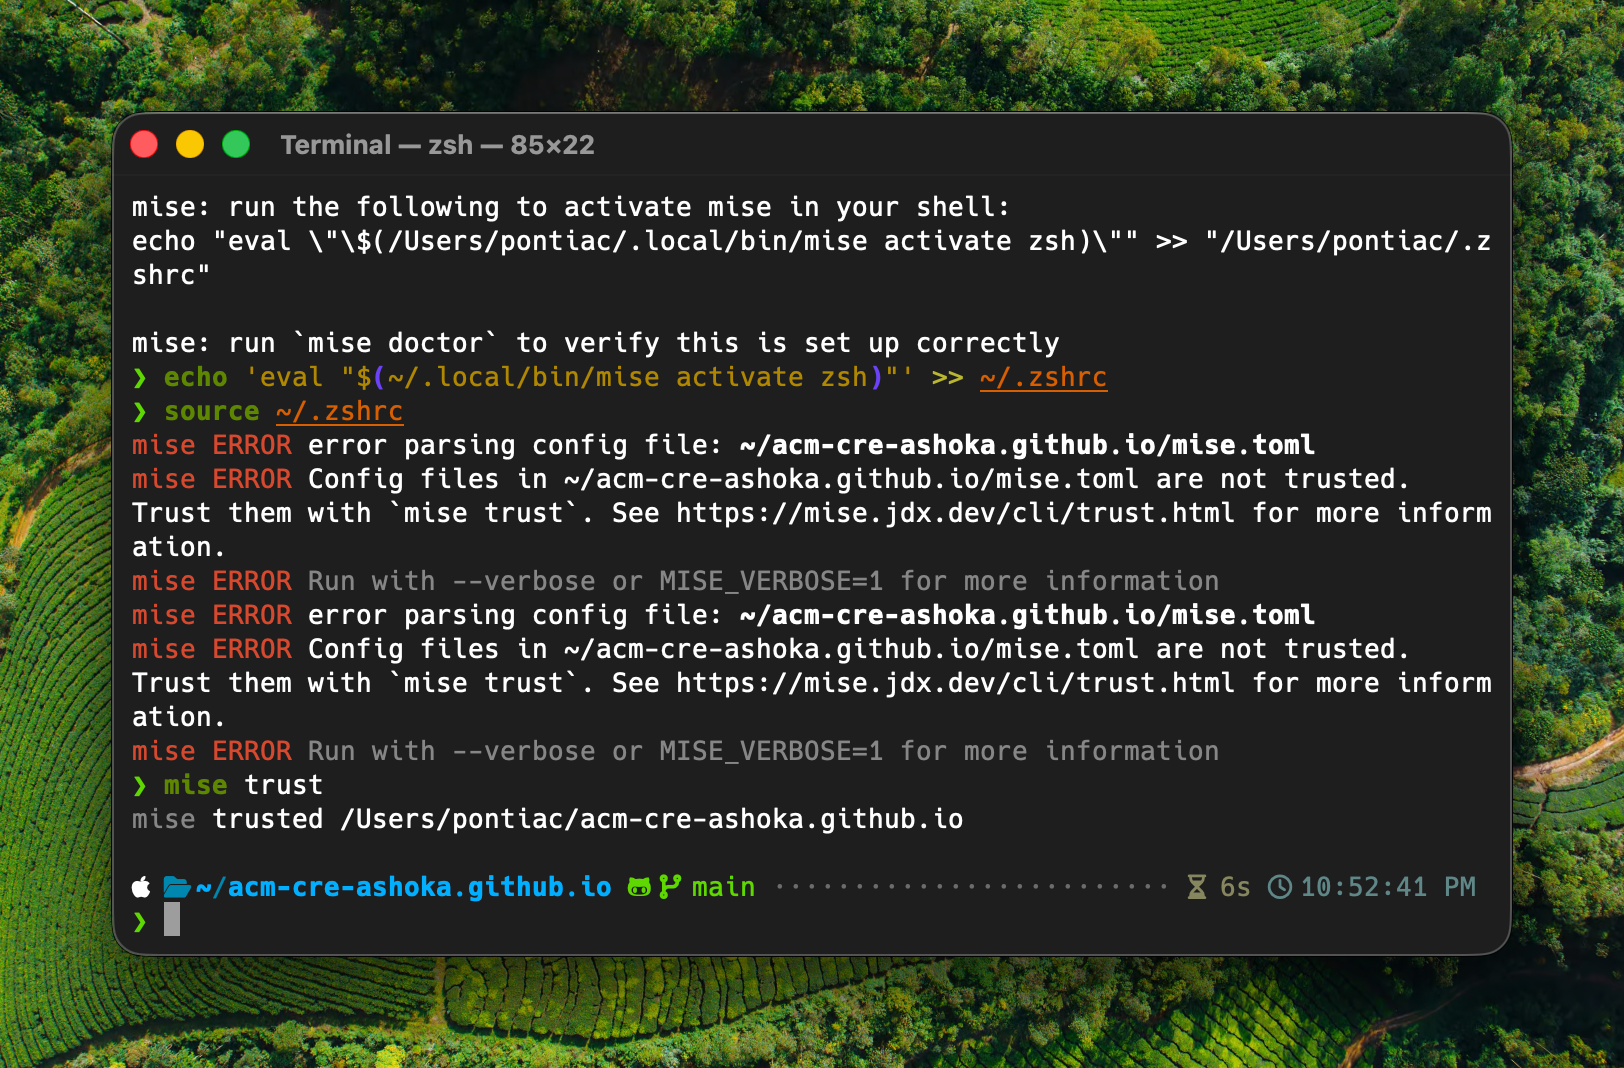
When you source ~/.zshrc while inside the project directory, mise will print errors that look like this:
mise ERROR error parsing config file: ~/<your-repo>/mise.toml
mise ERROR Config files in ~/<your-repo>/mise.toml are not trusted.
This is expected. mise refuses to read a project’s mise.toml until you explicitly trust it. The next step fixes this.
Step 7: Trust mise and install Ruby
Tell mise that this project’s config is safe:
mise trust
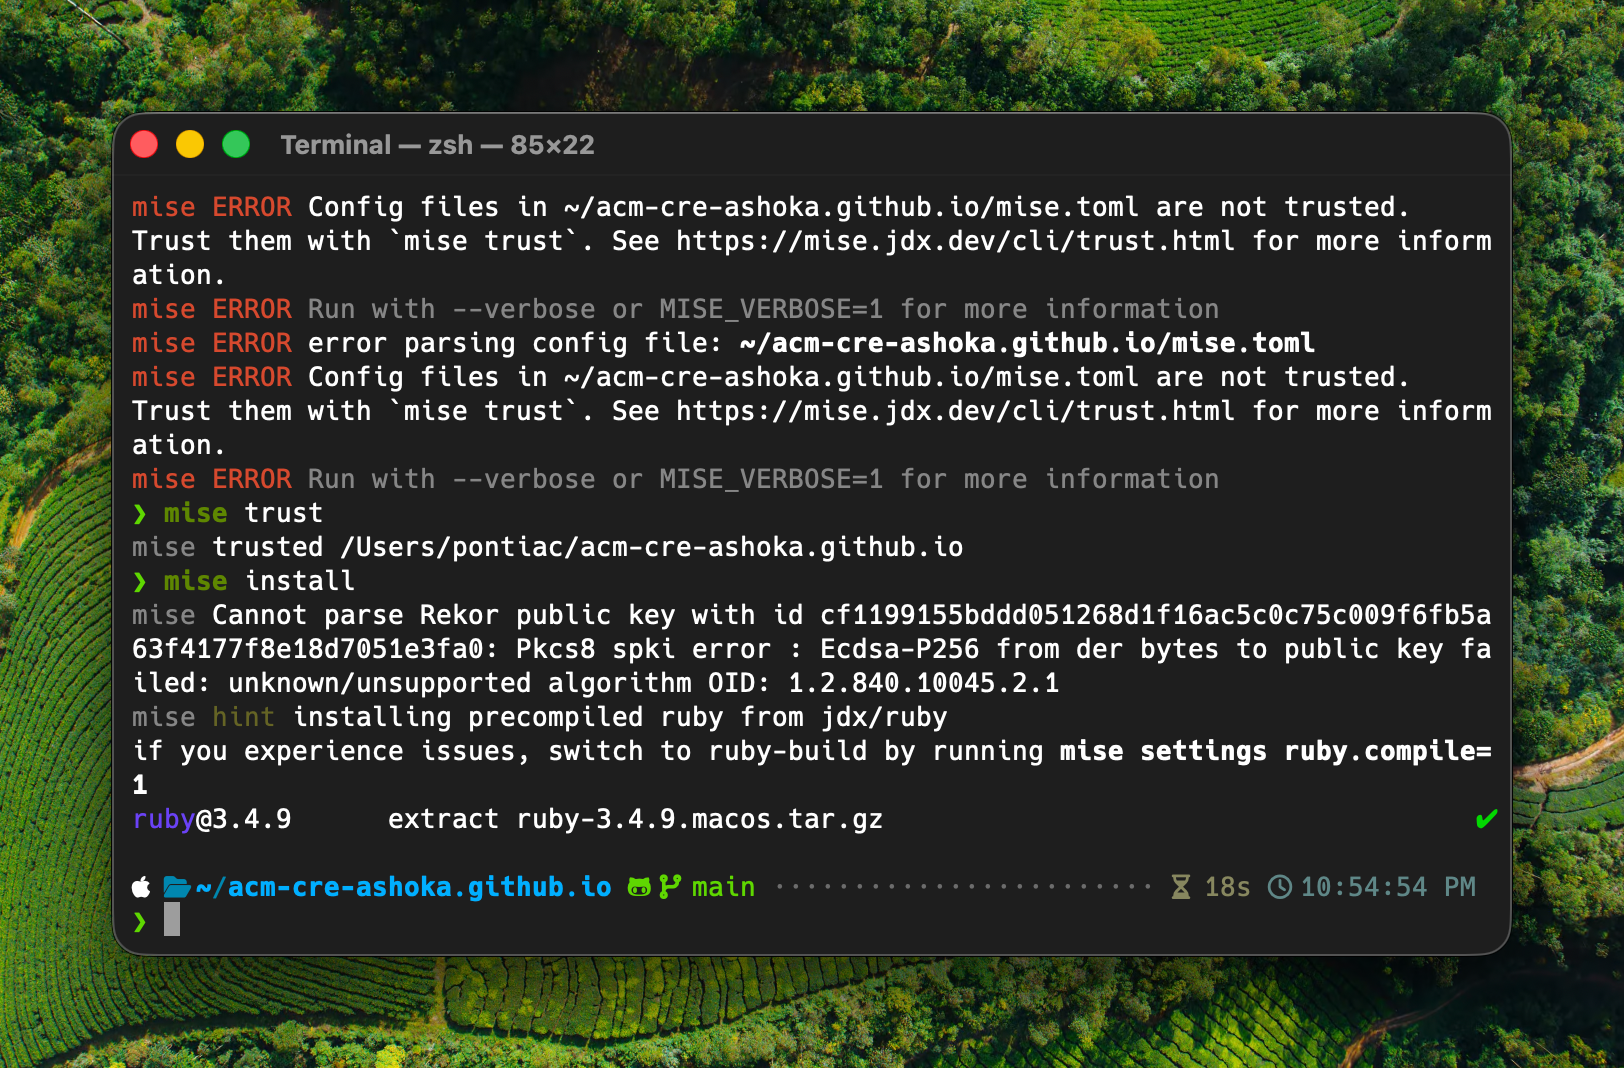
Now install Ruby:
mise install
This downloads a precompiled Ruby 3.4 binary. You may see a warning about a Rekor public key:
mise Cannot parse Rekor public key with id cf1199155bddd051268d1f16ac5c0c75c009f6fb5a63f4177f8e18d7051e3fa0: Pkcs8 spki error : Ecdsa-P256 from der bytes to public key failed: unknown/unsupported algorithm OID: 1.2.840.10045.2.1
This warning is harmless. mise is unable to verify one of its signing keys, but the download itself completes successfully.
Verify the install:
mise doctor
You should see “No problems found”.
Step 8: Install dependencies and run the site locally
Install the project’s Ruby gems:
bundle install
Then start the local Jekyll server:
bundle exec jekyll serve
Open http://localhost:4000 in your browser. You should see the example event website.
To stop the server, press Ctrl + C.
Next steps
Having issues?
See the Troubleshooting guide for solutions to common problems.